Introduction – Why Backyard Stone Flooring Is a Perfect DIY Project
For many homeowners across the U.S., the backyard has become more than just a patch of grass. It’s now an outdoor living room, a place for relaxation, family gatherings, and weekend barbecues. If you’re looking to upgrade your space without hiring professionals, installing backyard stone flooring is one of the most rewarding DIY projects you can take on.
Stone flooring offers durability, beauty, and timeless appeal. It gives your backyard a natural texture that feels grounded yet elegant. And the best part? You can install it yourself with the right guidance. This step-by-step homeowner guide will walk you through every stage, from planning to sealing, so you can build a backyard space you’ll love for years to come.
Before You Begin: Plan Your Backyard Stone Flooring Project
A successful DIY project starts long before you lay the first stone. Careful planning saves time, prevents costly mistakes, and ensures your finished flooring lasts through every season.
Choosing the Right Stone Type
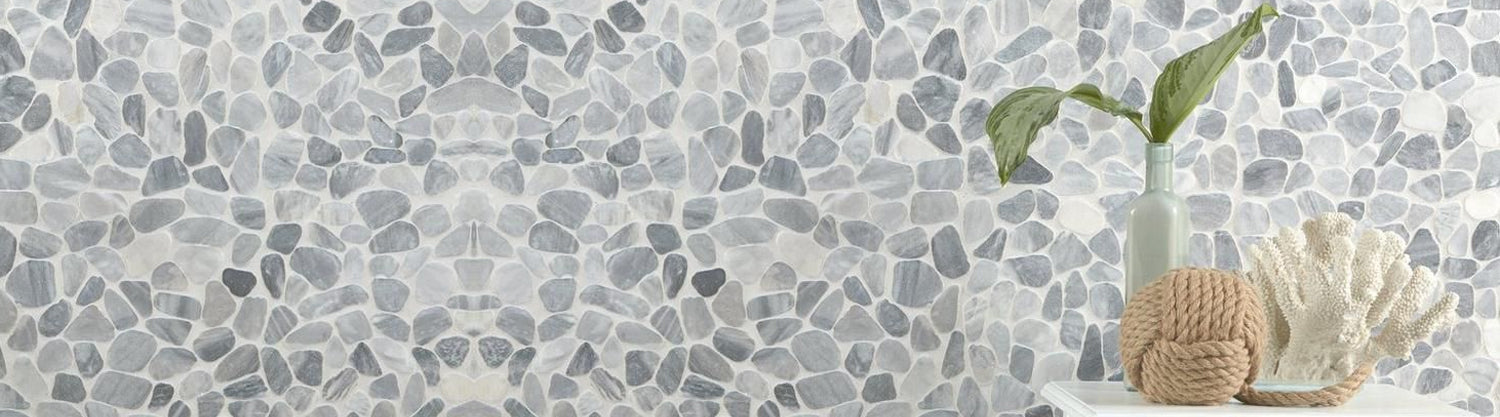
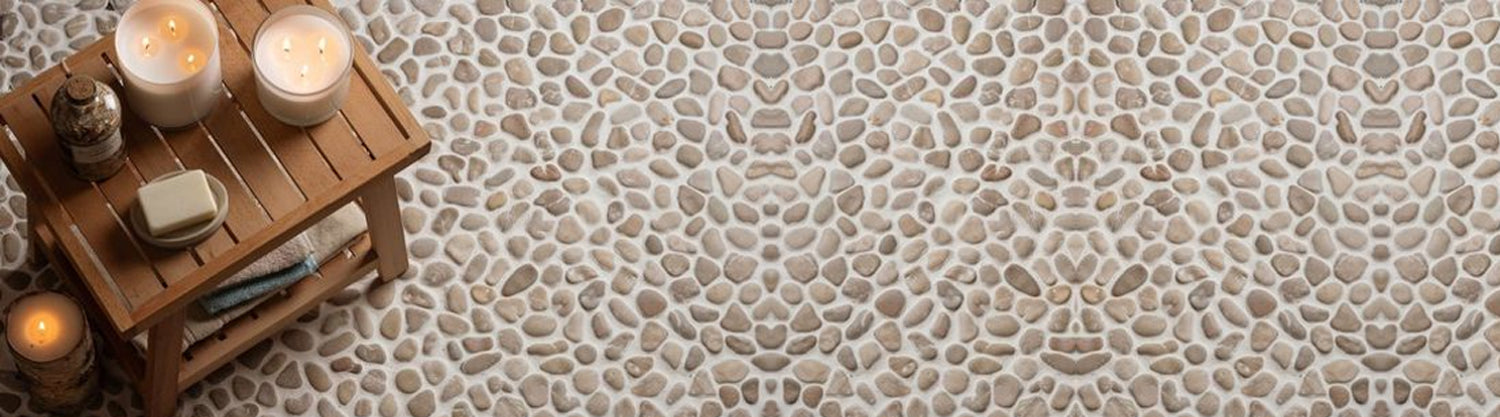
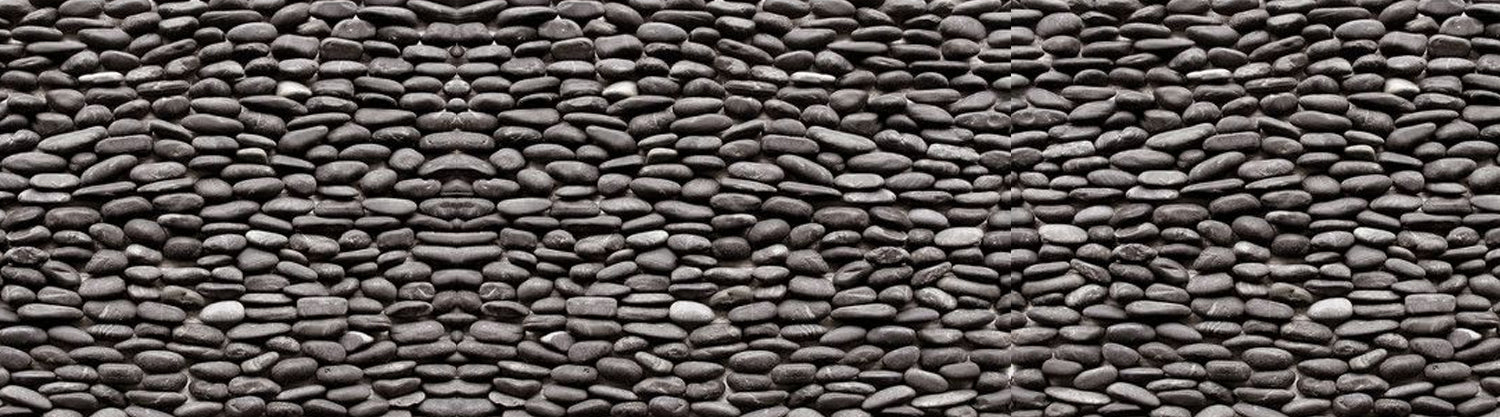
Different stones work best for different climates and aesthetics. For example, pebble stone flooring brings a natural spa-like feel, while flat-cut stones like slate or sandstone create a sleek, modern surface. If you’re looking for inspiration, explore TileHub’s Pebble Tile Collection to see designs that work beautifully in outdoor settings.
Measuring Your Space & Estimating Materials
Measure the area you plan to cover using a measuring tape. Multiply the length by the width to get the total square footage. Always buy 10–15% more stone than needed to cover cutting waste or replacements. Mark your layout using string or chalk to visualize the final space.
Materials & Tools Checklist
Before getting started, make sure you have everything you need on hand.
Materials
-
Stone or pebble tiles
-
Gravel or crushed stone base
-
Leveling sand
-
Weed barrier fabric
-
Polymeric sand or fine gravel for joints
-
Sealant (weather-resistant)
Tools
-
Shovel and wheelbarrow
-
Rubber mallet
-
Spirit level
-
Garden hose
-
Trowel
-
Gloves and knee pads
-
Broom for finishing
Pro tip: Buy or rent a plate compactor for leveling the base. It makes a big difference in creating a stable surface.
Step-by-Step Installation Guide
Now comes the exciting part - turning your plan into reality. Follow these steps carefully, and take your time with each stage for the best results.
Step 1: Prepare the Site
Start by clearing the area of grass, roots, and debris. Dig down around 4 to 6 inches to make room for the base layers. Make sure the surface is slightly sloped (around 1 inch per 10 feet) so that water drains away from your home. Good drainage prevents puddles and long-term cracking.
Step 2: Lay the Base Layers
Add about 3 inches of gravel or crushed stone and compact it thoroughly using a tamper or compactor. This layer provides the foundation and prevents shifting. Then, add a 1-inch layer of sand on top to create a smooth surface for the stones.
If you live in a region with heavy weed growth, lay down a weed barrier fabric between the gravel and sand layers. It helps keep the surface looking neat for years to come.
Step 3: Arrange the Stones
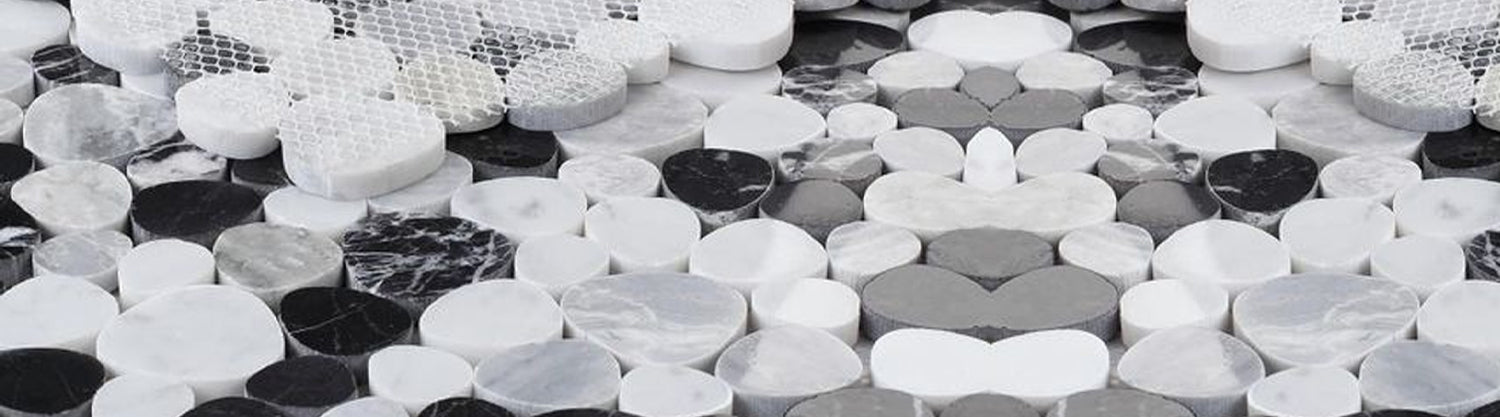
Start from one corner and work your way out. Dry-lay your stones before final placement to see how they fit together. Mix and match shapes and colors to create a balanced design. If you’re using pebble tiles, you can cut them to fit edges or corners more precisely.
A great idea is to use visually striking options like Java Tan Pebble Tile for a warm, earthy tone, or Glazed Sea Green Pebble Tile for a more coastal look.
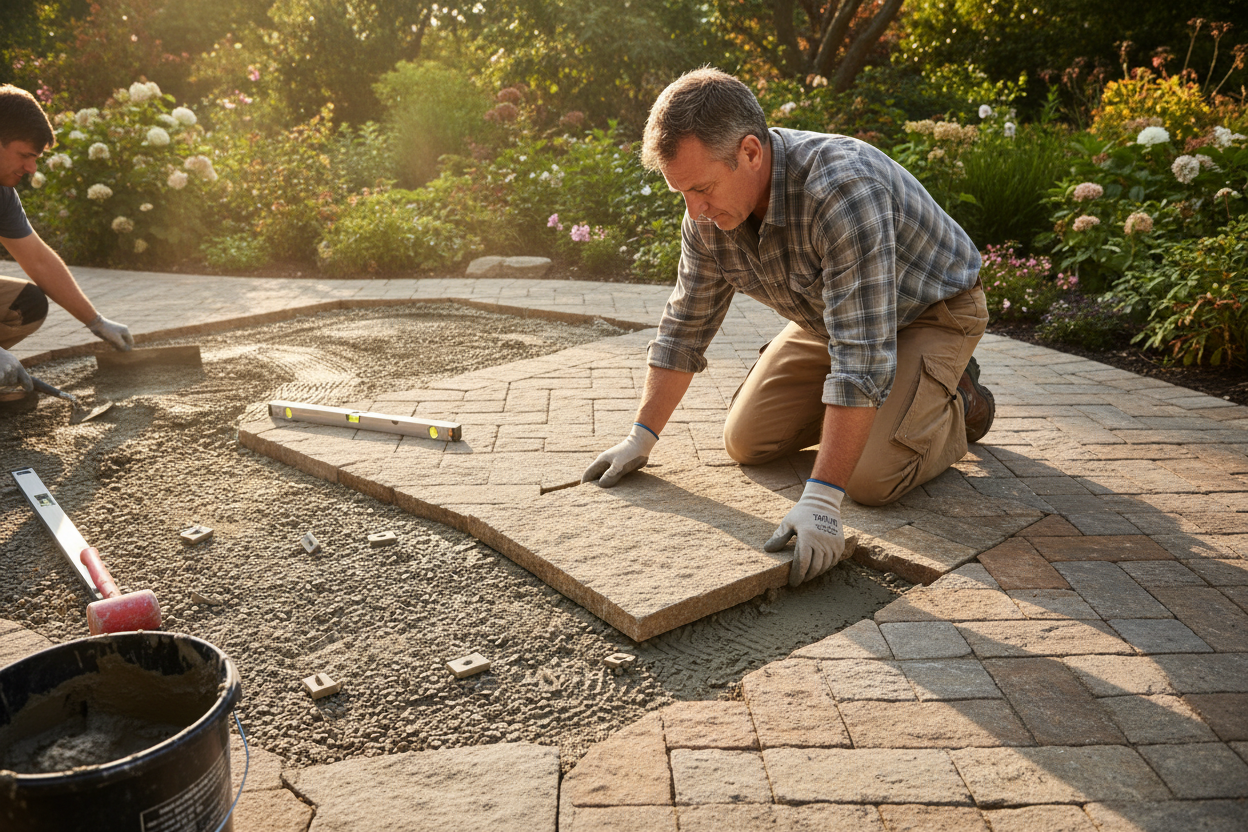
Step 4: Level & Adjust Each Stone
Once satisfied with your layout, begin placing stones on the sand bed. Tap each stone gently with a rubber mallet until it feels secure and level with neighboring stones. Keep checking with your spirit level as you go along. This step is vital to avoid tripping hazards and uneven surfaces later.
Step 5: Fill the Joints
After all stones are placed, fill the gaps between them using polymeric sand or fine gravel. Sweep it into the joints with a broom until they are full. Lightly mist the surface with water to activate the binding agent in the polymeric sand. Let it cure for at least 24 hours without disturbance.
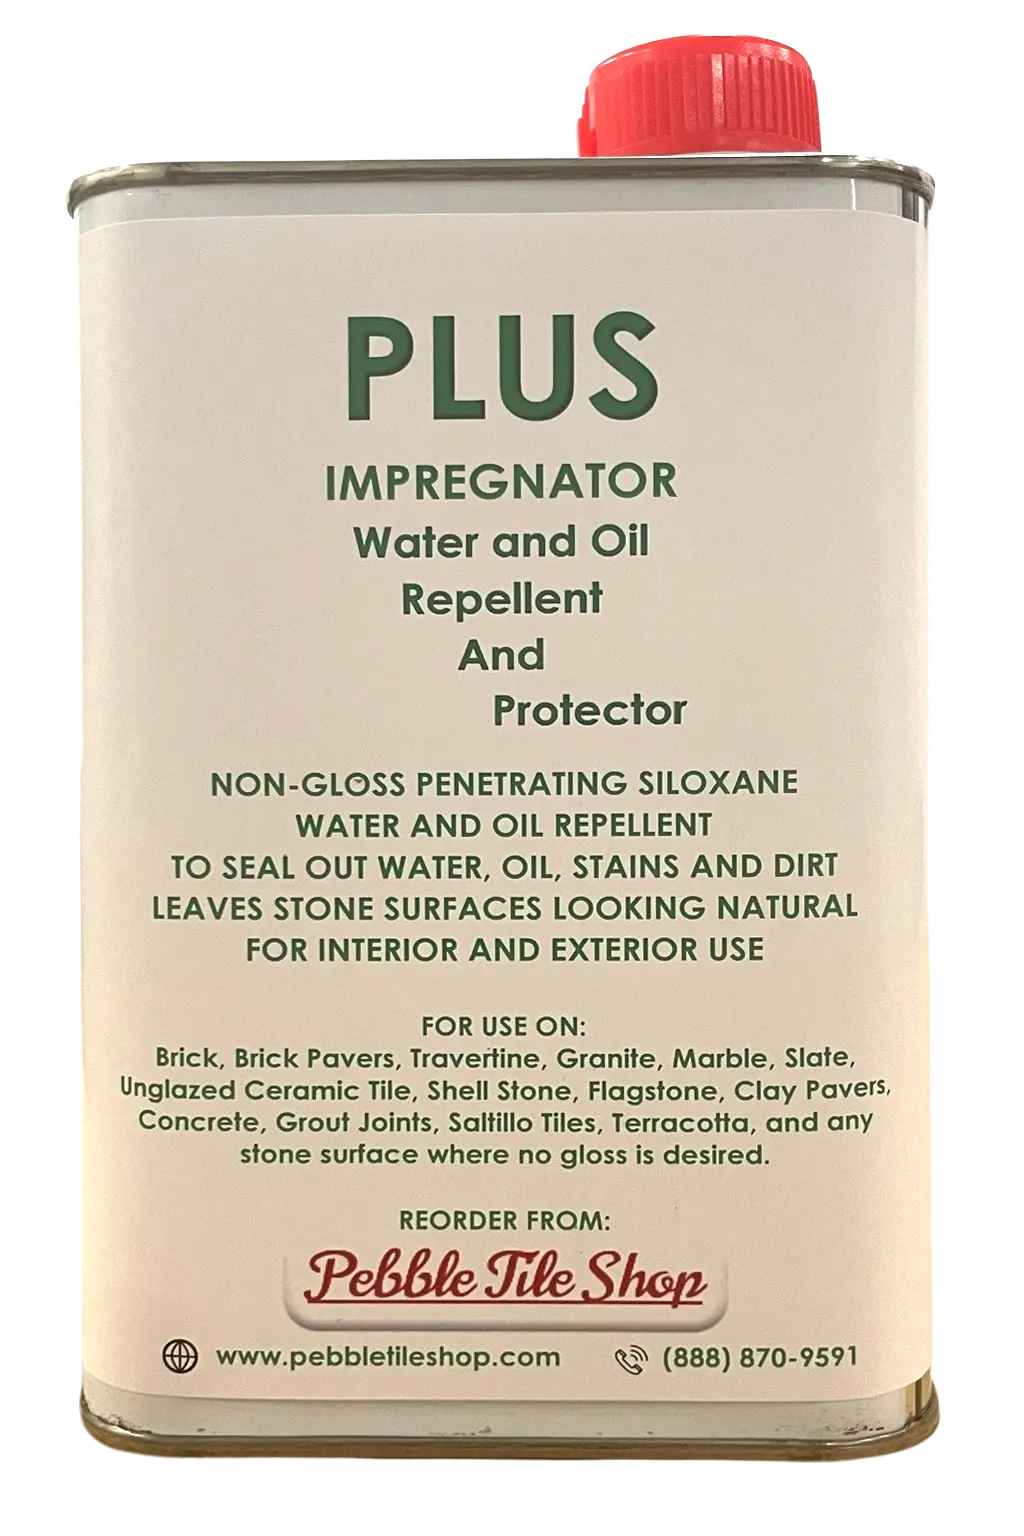
Step 6: Seal the Surface
Sealing your stone flooring isn’t mandatory, but it’s highly recommended. A good sealant protects against stains, moisture, and UV damage, extending the life of your project. Choose a sealant made for outdoor stone and apply it evenly using a roller or garden sprayer. Re-seal every 2–3 years for long-lasting protection.
Cost, Time, and Skill Level Overview
Before you start, it helps to know what to expect in terms of effort and budget.
|
Aspect |
Estimated Range |
|
Cost (Materials only) |
$4 – $12 per sq. ft. |
|
Total Project (200 sq. ft.) |
$800 – $2400 |
|
Skill Level |
Moderate DIY |
|
Time Required |
2–3 weekends (including prep and curing) |
If you’re handy and enjoy working outdoors, this is an achievable project that will save you thousands compared to hiring a contractor.
Maintenance Tips to Keep Your Stone Flooring Beautiful
A well-installed stone floor can last decades, but it does need occasional care. Here’s how to keep it looking its best:
-
Regular Cleaning: Sweep debris weekly and wash with mild soap and water when needed.
-
Avoid Harsh Chemicals: They can erode the surface or strip away sealant.
-
Reapply Sealant: Every few years, reseal to maintain shine and resistance.
-
Check Joints: If you notice gaps forming, add more polymeric sand to prevent movement.
-
Handle Weeds Early: Remove any sprouting weeds before they spread.
Small maintenance habits make a big difference in how your stone flooring ages over time.
Common Mistakes to Avoid (And How to Fix Them)
Even simple DIY projects can go wrong if small details are overlooked. Here are some common mistakes and how to prevent them:
-
Skipping Proper Base Preparation: A weak foundation leads to uneven surfaces. Always compact each layer properly.
-
Ignoring Drainage: Without a slope, water can pool and damage the stones. Adjust the grade before laying your base.
-
Using Too Little Joint Filler: Thin joints may crumble or shift. Fill them completely and mist with water.
-
Forgetting Sealing: Unsealed stones are prone to discoloration and mold in humid areas. Apply a protective coat once the floor is dry.
Fixing these small issues early prevents major repairs later on.
Explore More Ways to Elevate Your Outdoor Space
If working on your backyard sparked new ideas, there are plenty of creative ways to extend that transformation throughout your home. Many homeowners who start with backyard stone flooring often discover how textures and tones can completely change the feel of a space.
For instance, blending pebble tiles with natural stone paths can bring a soft, organic flow to gardens or poolside areas. Indoors, stone mosaic tiles create stunning transitions between entryways and patios, tying your design together with subtle elegance.
If you’re exploring patterns and finishes, the best-selling tile collection offers timeless combinations that suit both rustic and modern homes. And if you want to go deeper into the design and installation process, TileHub’s detailed guide on Ecru White Mosaic Tile is a great read for homeowners who enjoy experimenting with textures and layout ideas.
Creating a beautiful home doesn’t stop at one project - it’s a continuous journey of adding character, comfort, and craftsmanship to every corner of your space.
Design Inspiration: Make It Your Own
Once your flooring is installed, it’s time to personalize your outdoor area. Backyard stone flooring isn’t just practical - it’s a canvas for creativity.
Try mixing contrasting stone shades to define zones, such as dining and lounging areas. Add solar-powered garden lights for evening ambiance. Surround your new floor with potted plants, seating, or even a small fire pit for a cozy vibe.
For a truly unique look, blend pebble tiles like Java Tan with complementary tones such as Glazed Sea Green Pebble Tile to add depth and character to your patio.
Conclusion – Your Backyard Upgrade Awaits
A DIY backyard stone flooring project doesn’t just add beauty to your outdoor space - it adds a sense of accomplishment every time you step outside. With a weekend or two of effort, you can create a durable, natural-looking surface that enhances your home’s curb appeal and becomes the heart of family gatherings.
If you’re ready to begin, explore TileHub for high-quality stone and pebble tiles that make your project easier and more rewarding. Start today and turn your backyard into the relaxing retreat you’ve always imagined.