Introduction
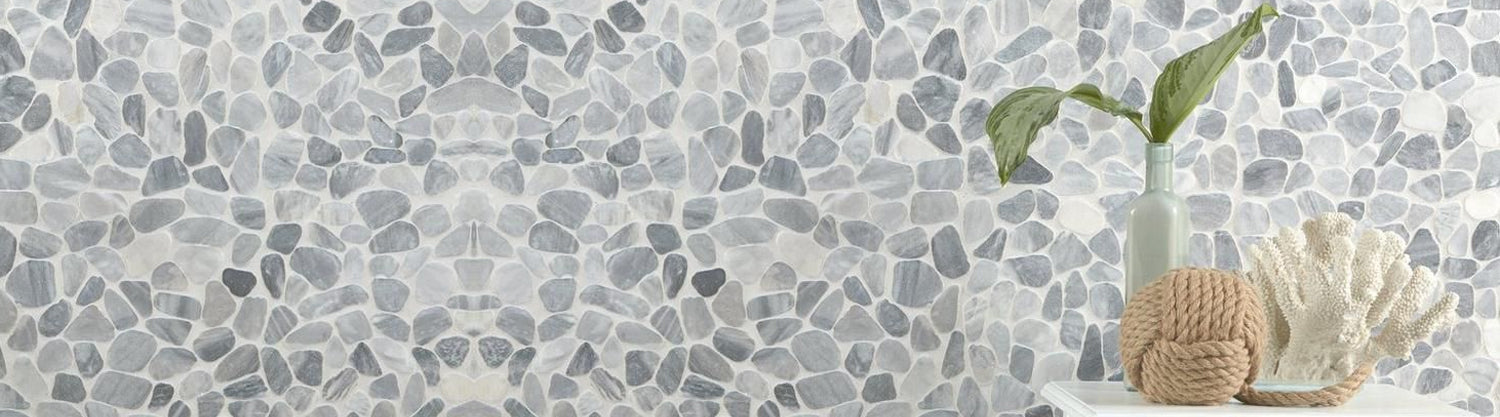
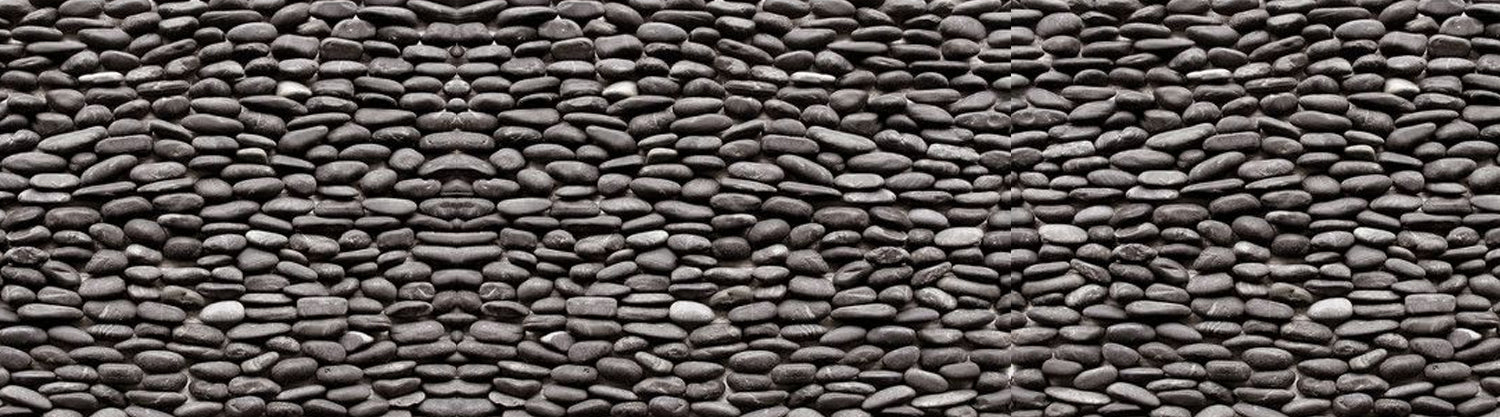
When it comes to adding a touch of natural elegance to your home, few options stand out as much as Ebony Mixed Mini Pebble Tile. These tiles combine small, naturally shaped stones with deep ebony tones, creating a surface that is both visually striking and soothing. Whether you’re designing a spa-like bathroom, a modern kitchen backsplash, or an outdoor patio with character, pebble tiles bring warmth, texture, and timeless appeal.
One of the reasons Ebony Mixed Mini Pebble Tile has become so popular is its versatility. Unlike traditional ceramic or porcelain tiles, these mosaics can be used on both walls and floors, adapting beautifully to wet areas like showers, as well as dry spaces such as living room accents or fireplace surrounds. With the right preparation and a clear installation process, even homeowners with moderate DIY skills can achieve professional-looking results.
This step-by-step guide will walk you through the entire installation process—from preparing the surface and laying out the sheets to grouting, sealing, and finishing touches. By the end, you’ll have the knowledge and confidence to install Ebony Mixed Mini Pebble Tile and transform your space with a natural yet sophisticated finish.
Benefits of Ebony Mixed Mini Pebble Tile
Choosing the right tile for your home is more than just a design decision—it’s an investment in style, functionality, and durability. Ebony Mixed Mini Pebble Tile stands out because it offers all three.
Natural Beauty and Unique Design
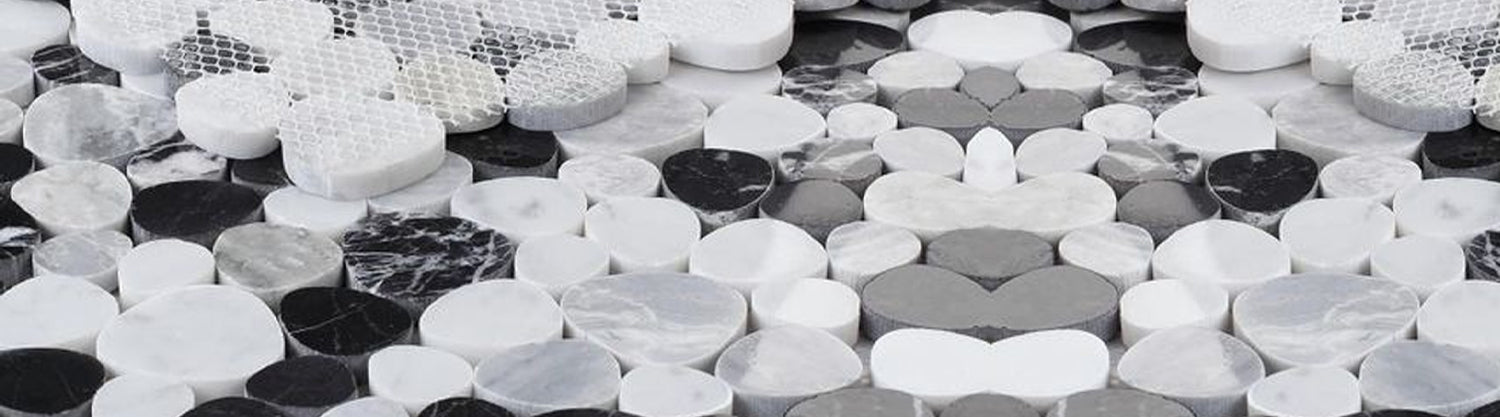
Each pebble is naturally sourced, meaning no two pieces are exactly alike. The deep ebony tones mixed with lighter stone variations create a distinctive, organic pattern that adds warmth and character to any space.
Versatility Across Spaces
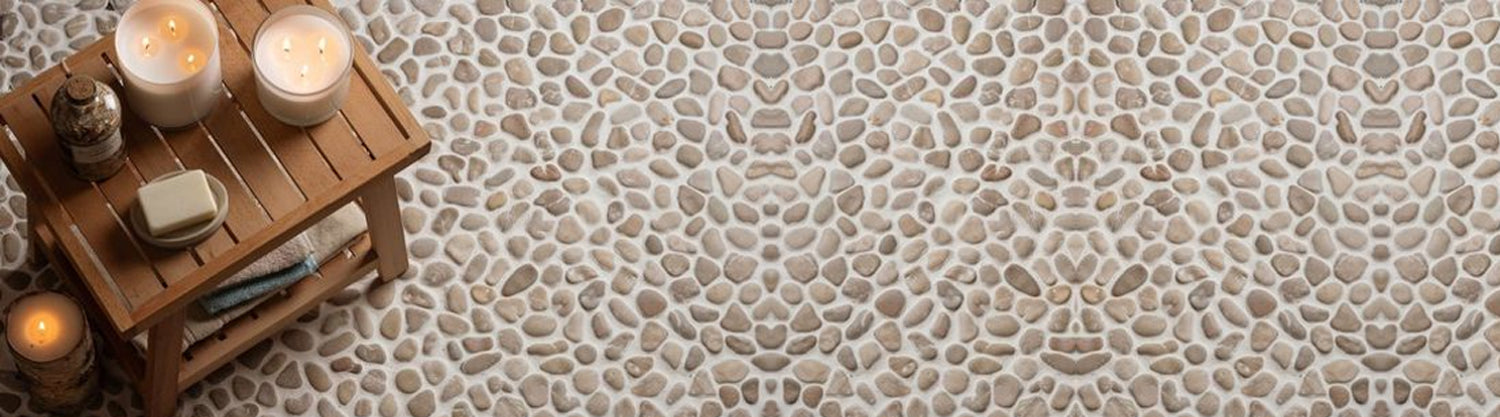
Pebble tiles adapt effortlessly to different areas of the home. They are a favorite for bathroom floors, shower walls, kitchen backsplashes, entryways, and even outdoor patios or pool surrounds.
Durability and Slip Resistance
Since these tiles are made of natural stone, they are built to last. Their textured surface also provides extra grip, making them especially safe for wet environments like showers and spa areas.
Adds Value to Your Home
Installing pebble tile instantly elevates the look of your space, giving it a designer-inspired feel that can increase both visual appeal and resale value.
Tools & Materials Checklist
Before you begin installing Ebony Mixed Mini Pebble Tile, it’s important to gather all the right tools and materials.
Essential Tools
-
Notched trowel
-
Grout float
-
Tile cutter or wet saw
-
Level
-
Sponge & buckets
-
Measuring tape & chalk line
Materials
-
Ebony Mixed Mini Pebble Tile sheets
-
Thinset mortar
-
Grout (sanded recommended)
-
Tile sealer
-
Edge trim (optional)
Safety Gear
-
Work gloves
-
Safety glasses
-
Knee pads
Having this checklist ready ensures you’ll have a professional-quality setup from start to finish.
Preparing the Surface
A flawless installation starts with proper surface preparation.
-
Clean and Level: The surface must be free of dust, grease, or bumps.
-
Choose the Base: Cement board for wet areas, drywall for dry spaces, or smooth concrete for floors.
-
Waterproofing: Apply a waterproof membrane in showers or poolside areas.
-
Dry-Lay the Pebbles: Preview the final look, align seams, and plan edge cuts before applying thinset.
Installation Process
Step 1: Plan the Layout
Dry-fit sheets, align seams, and mark guidelines with a chalk line. Stagger placement to avoid a “grid look.”
Step 2: Apply Thinset
Mix mortar to the right consistency. Spread with a notched trowel, holding it at a 45° angle to create ridges.
Step 3: Place the Pebble Sheets
Press sheets firmly into the mortar with a gentle wiggle motion. Adjust alignment with a level. Trim edges with a wet saw for a snug fit.
Step 4: Cutting Around Edges & Fixtures
Cut the mesh backing for tricky areas. Use tile cutters or nippers for individual stones.
Step 5: Let Mortar Cure
Allow at least 24 hours for mortar to set before moving on to grouting.
Grouting the Pebble Tile
Grout locks the pebbles in place and completes the design.
-
Choose the Grout: Sanded grout is best for wide joints. Pick a matching color for subtlety or contrasting color for bold style.
-
Apply: Use a grout float to push grout deep into gaps. Work diagonally to avoid pulling it out.
-
Clean Excess: After 15–20 minutes, wipe with a damp sponge, rinsing often.
-
Remove Haze: Buff with a clean cloth once grout has set slightly.
-
Cure: Let grout cure for 48–72 hours before exposing it to water.
Sealing for Protection
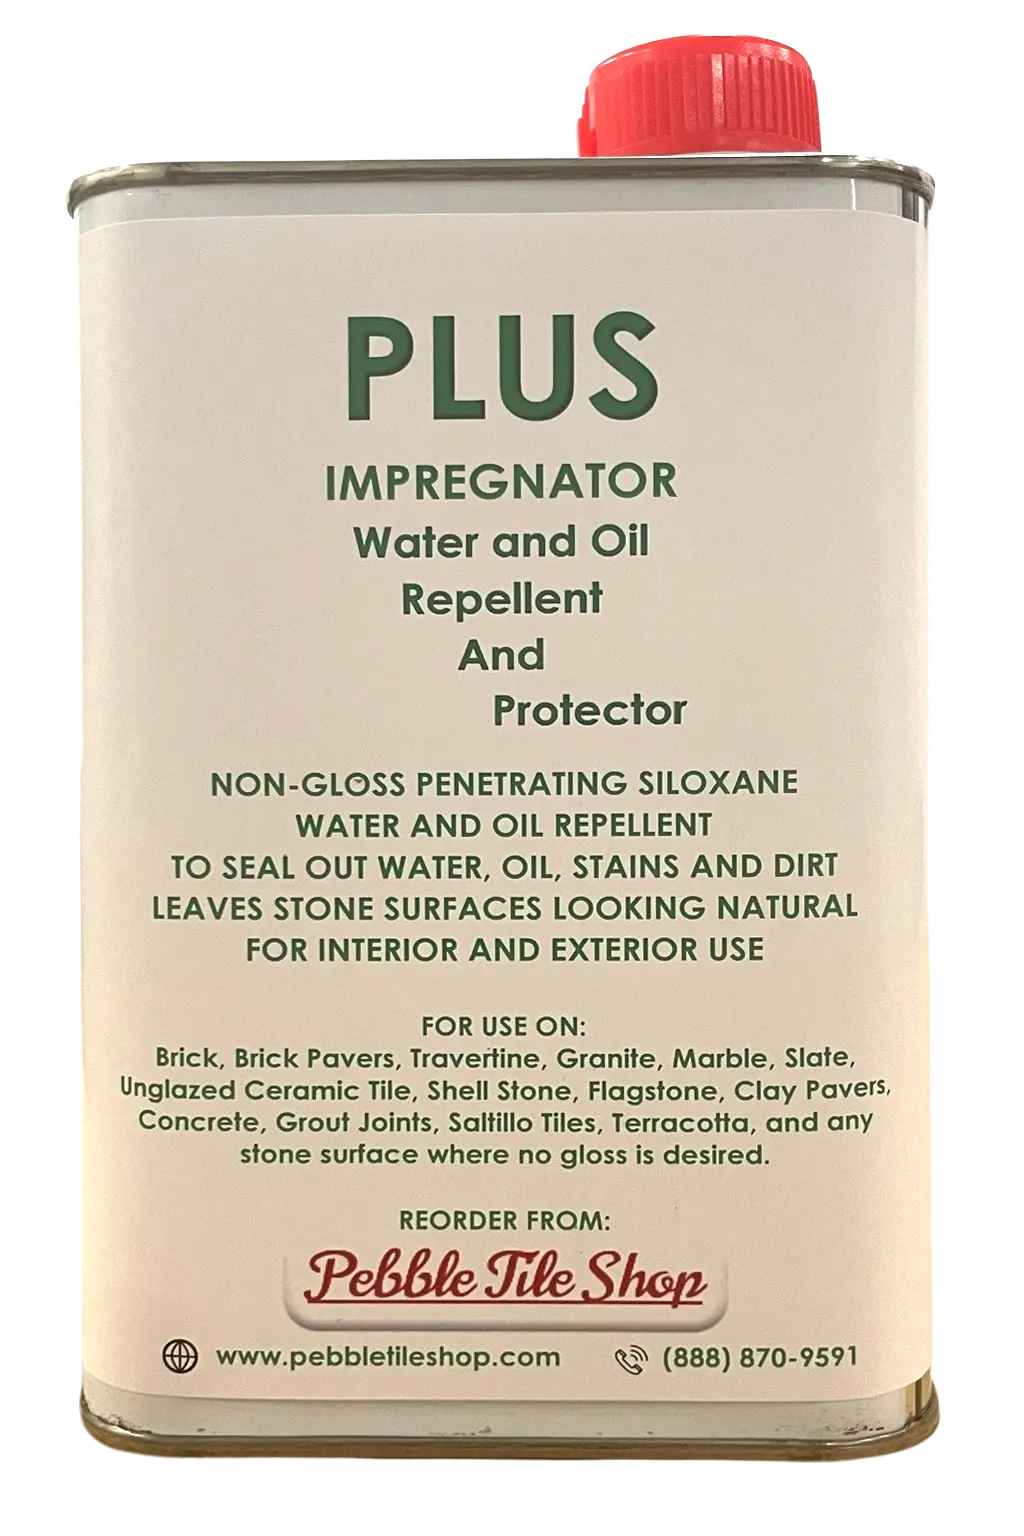
Since pebble tiles are porous, sealing is essential.
-
Why Seal? Prevents stains, protects against water, and enriches color.
-
When? Seal once before grouting to ease cleanup, and again afterward to protect grout and stone.
-
How? Apply evenly with a sponge or brush, let it soak, and wipe away excess.
-
Resealing: Every 12–18 months in wet areas, or every 2–3 years in dry spaces.
Finishing Touches & Maintenance
-
Inspect: Fix loose pebbles or uneven grout.
-
Polish: Buff with a cloth for a natural shine.
-
Clean: Use pH-neutral cleaners; avoid bleach or vinegar.
-
Maintain: Reseal regularly and replace damaged pebbles as needed.
Common Mistakes to Avoid
-
Skipping surface prep, leading to poor adhesion.
-
Ignoring layout planning, leaving visible seams.
-
Using the wrong grout or sealer.
-
Rushing curing times.
-
Forgetting resealing and maintenance.
Avoiding these mistakes ensures long-lasting beauty and strength.
Conclusion
Installing Ebony Mixed Mini Pebble Tile may take patience, but the results are worth it. With proper preparation, careful installation, and regular maintenance, you’ll enjoy a stunning, durable surface that enhances your home’s beauty for years.
Ready to bring this natural elegance into your home? Order the product directly here:
👉 Ebony Mixed Mini Pebble Tile
For more inspiration and options, explore the full range at:
👉 Tile Hub
Transform your space today with the timeless beauty of pebble tile.