A clean shower is not only visually appealing, but it also contributes to the overall hygiene of your bathroom. However, keeping shower tiles sparkling clean can be a challenge, especially considering the constant exposure to moisture, soap scum, and grime. If you’ve been wondering how to clean shower tiles effectively, you’re in the right place. This step-by-step guide will walk you through the best cleaning methods, including natural solutions and commercial products that can bring your shower tiles back to life, leaving them gleaming and fresh.
In this blog, we’ll cover the types of shower tiles, common issues with tile cleaning, the essential tools you need, and step-by-step instructions to ensure your shower tiles remain as beautiful as the day they were installed. Plus, we’ll show you how the right cleaning techniques can extend the life of your tiles and grout, preserving their beauty for years to come.
Types of Shower Tiles
Before we dive into cleaning, it’s important to understand the different types of shower tiles you may have in your bathroom. Different materials require different care and cleaning methods, so knowing the type of tile you’re working with is the first step in understanding how to clean shower tiles effectively.
-
Ceramic Tiles
Ceramic tiles are one of the most common choices for shower walls and floors. They are easy to clean, relatively inexpensive, and come in a wide variety of styles and colors. Ceramic tiles are non-porous, which means they resist water and stains. However, grout lines between ceramic tiles can absorb moisture, so regular cleaning is essential to avoid mildew and mold growth.
-
Porcelain Tiles
Porcelain tiles are similar to ceramic tiles but are denser, harder, and more resistant to water. They are a great option for shower floors due to their durability and resistance to stains. Cleaning porcelain tiles is fairly easy, but again, the grout lines require attention to prevent buildup.
-
Natural Stone Tiles
Natural stone tiles, including marble, granite, and travertine, are highly sought after for their luxurious appearance. However, they require more care than ceramic or porcelain tiles. Natural stones are porous and can absorb liquids, making them prone to staining and damage from harsh cleaning products. Regular sealing and gentle cleaning methods are essential for maintaining their beauty.
-
Mosaic Tiles
Mosaic tiles, typically made from glass, ceramic, or stone, are often used in shower areas for a decorative touch. Due to the intricate design and smaller tile size, cleaning mosaic tiles requires careful attention to the grout lines, as they can accumulate grime and soap scum more easily.
Common Issues with Shower Tile Cleaning
To effectively clean your shower tiles, it’s important to understand the most common issues you may face. Some of these problems include:
-
Soap Scum and Hard Water Deposits
Soap scum builds up from soap and water, creating a cloudy, filmy residue on tiles and grout. Hard water, which is water that contains high levels of calcium and magnesium, can leave mineral deposits that are difficult to remove.
-
Mold and Mildew
Bathrooms are prone to moisture, and excessive humidity can lead to mold and mildew growth on both tiles and grout. This is a common issue in showers, especially in grout lines and corners.
-
Grout Stains
Over time, grout can discolor, especially in high-moisture areas like the shower. This can happen due to soap scum, mold, mildew, and general dirt accumulation. Cleaning grout lines requires special attention and techniques to prevent discoloration.
-
Water Stains
Water stains can form on shower tiles, especially if you have hard water. These stains are often difficult to remove without proper cleaning products.
Essential Tools for Cleaning Shower Tiles
Having the right tools is essential for effective tile cleaning. Here’s a list of items you’ll need when figuring out how to clean shower tiles like a pro:
-
Cleaning Brushes
Use soft-bristled brushes for general cleaning. For stubborn grout stains, a stiff-bristled brush may be necessary to get into the grout lines.
-
Microfiber Cloths or Sponges
Microfiber cloths are great for wiping down tiles without leaving streaks or scratches. Sponges with non-abrasive sides are also helpful for scrubbing tiles.
-
Spray Bottle
A spray bottle is essential for applying cleaning solutions evenly to the tiles. If you plan to use homemade solutions, a spray bottle allows for better control and coverage.
-
Bucket
You’ll need a bucket to mix cleaning solutions, especially when working with larger areas.
-
Squeegee
A squeegee is perfect for drying your shower tiles after cleaning and preventing water spots.
-
Tile Cleaner
For tougher stains and buildup, you may want to use a commercial tile cleaner designed specifically for the type of tile in your shower. Ensure the cleaner is safe for your tiles, especially if they are made from natural stone.
How to Clean Shower Tiles Like a Pro: Step-by-Step Instructions
Now that you have the right tools and an understanding of your tiles, let’s dive into the step-by-step process for how to clean shower tiles.
Step 1: Clear the Area
Before you begin cleaning, remove any shower items such as bottles, soap dishes, and loofahs. This will give you easy access to all areas of your shower tiles. If you have a shower curtain, you might want to wash that as well.
Step 2: Dry the Shower Tiles
Use a microfiber cloth or towel to dry off the tiles. This helps remove excess moisture and gives you a clean slate for the next steps. If you’re dealing with water stains, drying the tiles before cleaning can help to loosen up the stains.
Step 3: Prepare Your Cleaning Solution
For general cleaning, you can mix a homemade solution of white vinegar and water (1:1 ratio). If you have hard water stains, adding a bit of baking soda can help. For more stubborn soap scum, try using a mixture of dish soap and vinegar. If you’re cleaning natural stone tiles, make sure to use a pH-balanced cleaner to avoid damaging the surface.
Store-bought solutions are available for specific tile types, including those for porcelain, ceramic, and natural stone tiles. Choose a cleaner that is safe for your type of tile.
Step 4: Apply the Cleaning Solution
Spray your cleaning solution generously over the tiles. Be sure to cover all areas, including the grout lines. Allow the solution to sit for about 10-15 minutes. This will help break down soap scum, hard water stains, and grime.
Step 5: Scrub the Tiles
Once the solution has had time to sit, use a soft-bristled brush to scrub the tiles. Start at the top of the shower and work your way down to avoid dripping water onto clean areas. For grout lines, you may need to use a stiffer brush or a grout brush to remove deep stains.
For mosaic tiles, use a brush with soft bristles to avoid scratching the surface of the tiles. Work in small sections to ensure thorough cleaning.
Step 6: Clean the Shower Floor
If your shower has a tiled floor, it’s important to give it extra attention. Use the same cleaning solution and brush to clean the floor tiles. Scrub in circular motions to remove any built-up soap scum, dirt, or mildew.
Step 7: Rinse Thoroughly
Once you’ve scrubbed the entire shower, rinse the tiles thoroughly with warm water. It’s essential to remove all traces of the cleaning solution to prevent streaks and residue buildup.
Step 8: Dry the Tiles
Use a squeegee or a microfiber cloth to dry the tiles. This helps prevent water spots and removes any remaining water from the surface. If you have glass doors in the shower, use the squeegee to clean those as well.
Step 9: Maintain Cleanliness
To keep your shower tiles looking pristine, consider wiping them down after every use. You can also apply a daily or weekly tile cleaner to prevent soap scum buildup. Regularly cleaning the grout with a mild cleaner will also help keep it from discoloring.
How to Clean Grout Lines
Grout lines are one of the trickiest areas to clean, as they can accumulate dirt and grime quickly. Here’s how to tackle grout cleaning:
-
Apply a Grout Cleaner
Use a grout cleaner specifically designed for your type of tile. Apply it directly to the grout lines and let it sit for 5-10 minutes.
-
Scrub the Grout
Use a toothbrush or a dedicated grout brush to scrub the grout lines. For deep stains, a paste made from baking soda and water can be effective in removing grime.
-
Rinse and Dry
After scrubbing, rinse the grout lines with warm water and dry the area with a cloth.
Preventative Tips to Keep Your Shower Tiles Clean
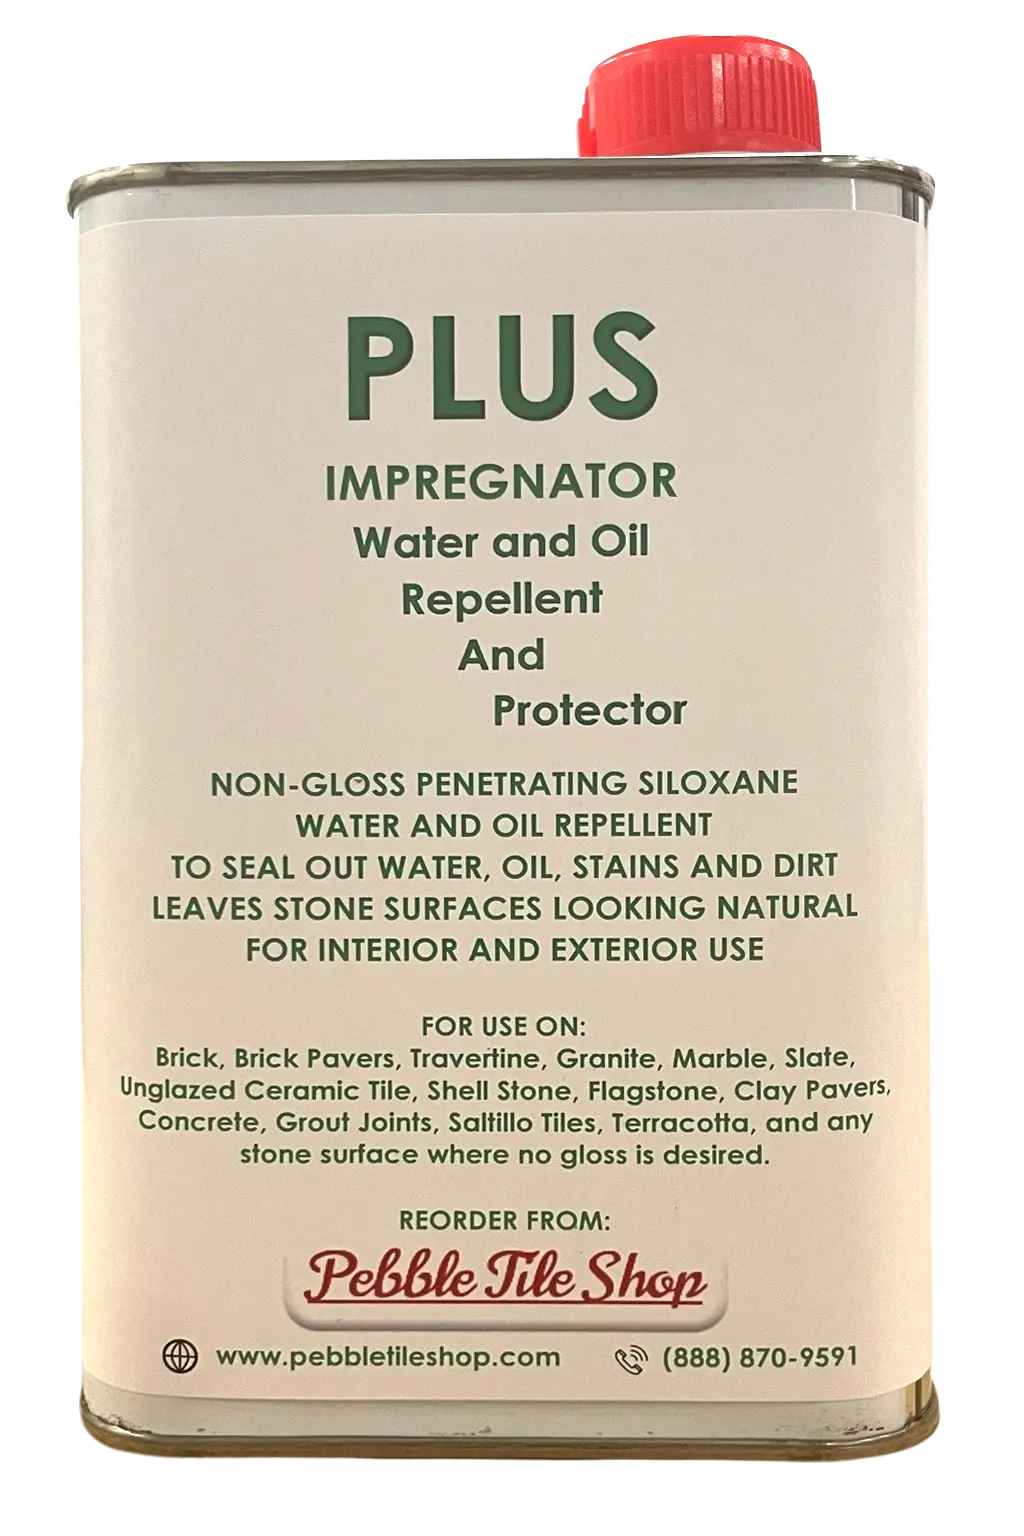
- Seal Your Tiles: If you have natural stone tiles, sealing them regularly can prevent stains and mildew buildup.
- Ventilate Your Bathroom: Keep the bathroom well-ventilated to prevent excess moisture and mildew growth.
- Use a Shower Mat: A shower mat can help absorb excess moisture and prevent water from pooling on the floor tiles.
- Install a Water Softener: If you have hard water, installing a water softener can help prevent mineral buildup on your tiles.
Conclusion
Knowing how to clean shower tiles effectively is essential for maintaining their appearance and ensuring they last for many years. Regular cleaning, proper tools, and the right cleaning solutions will make a world of difference. By following these steps, you can easily remove soap scum, grime, and stains, keeping your shower tiles looking as good as new.
If you’re looking for high-quality tiles to revamp your bathroom, visit Tile Hub, where you’ll find a wide range of stone mosaic tiles and other tile options to suit your style. Tile Hub is a sister company of Pebble Tile Shop, offering exceptional products for all your tiling needs. Visit Pebble Tile Shop for even more tile options!


