Cutting porcelain tile is one of those DIY jobs that looks intimidating from the outside. The tiles are harder than regular ceramic, the edges chip easily if you rush, and power tools can be noisy and messy. But with the right tools, a simple plan, and a few pro habits, you can get clean cuts at home—even if you’re not a contractor.
In this guide, you’ll learn how to cut porcelain tile for floors, walls, and backsplashes using tools you can rent or buy locally. We’ll walk through the best tools, step-by-step cutting methods, and smart ways to avoid chips and cracks, so you waste fewer tiles and end up with a polished finish.
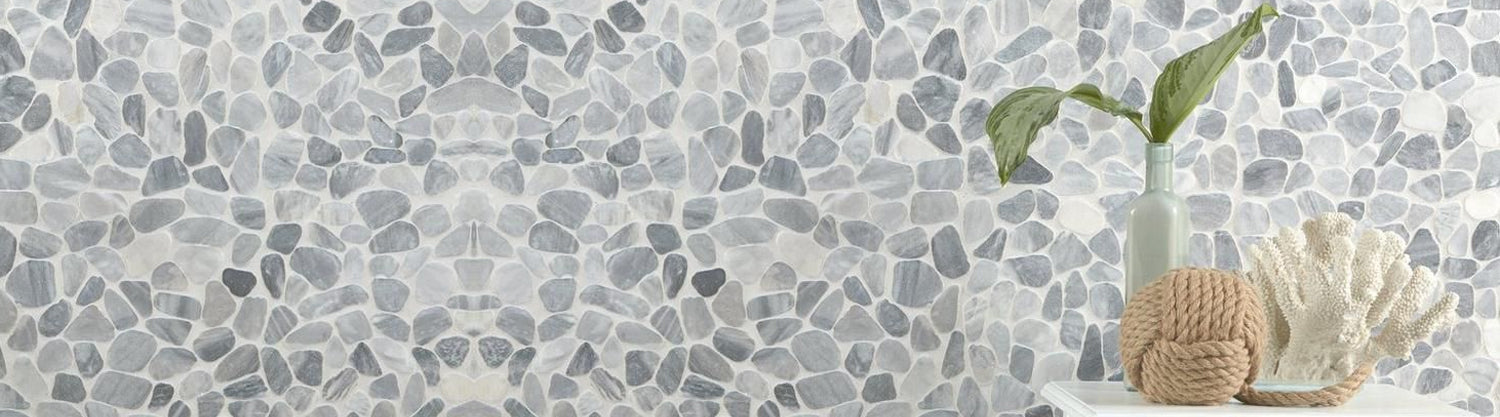
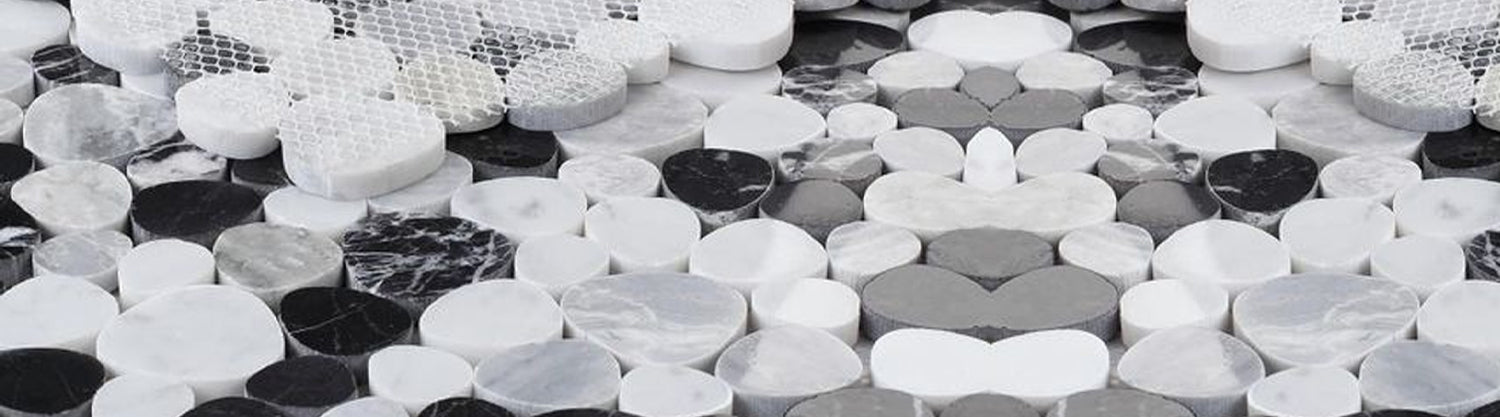
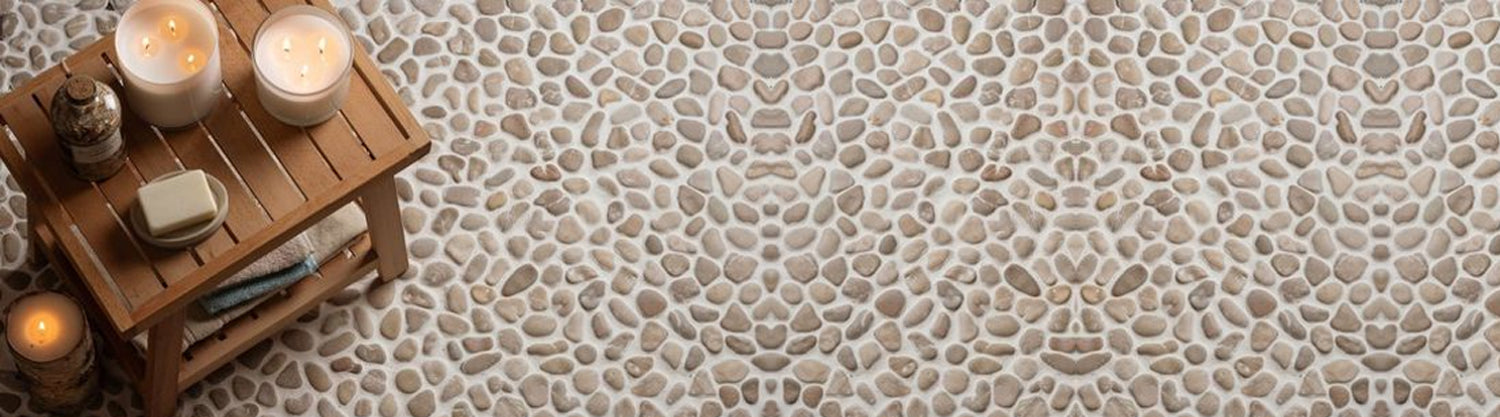
As you plan your project, you can pair these tips with the porcelain tile collections, mosaics, and trims available from TileHub and Pebble Tile Shop, so your cuts match the style and performance you’re after.
Before You Start: Safety, Planning and What Makes Porcelain Different
Porcelain is a type of ceramic, but it’s fired at higher temperatures and made from finer, denser clay. That density is what makes porcelain so durable on floors, shower walls, and kitchen backsplashes—but it’s also what makes it a bit more demanding when you cut it.
Because porcelain is harder and less porous than standard ceramic tile, it needs sharper, porcelain-rated blades and a little more patience. Pushing it too fast or using a dull blade is the quickest way to chip the glaze or crack a tile.
Safety Essentials
- Safety glasses or goggles
- Hearing protection
- Dust mask or respirator
- Work gloves
- Long sleeves and closed shoes
Whenever possible, work in a well-ventilated area. A wet saw keeps dust down and helps the blade run cooler, which is better for your lungs and your tile. And finally, always measure twice and test your cuts on a scrap tile if you can—this one habit saves a lot of frustration.
Tools and Supplies You’ll Need to Cut Porcelain Tile
There isn’t a single tool that fits every situation. The best way to cut porcelain tile depends on your tile size, thickness, and the shape of the cut.
Manual Tile Cutter (Score-and-Snap)
A manual tile cutter is great for straight cuts on smaller or medium-size tiles.
- Great for straight cuts on wall tiles and some floor tiles
- Quiet, fast, no electricity needed
- Struggles with very thick porcelain or very narrow strips
Ensure the cutter is rated for porcelain.
Wet Tile Saw
The wet tile saw is the main workhorse for most porcelain projects.
- Ideal for straight cuts on larger floor tiles
- Handles L-cuts and notches
- Gives smoother edges, especially on thick porcelain
Angle Grinder with Diamond Blade
An angle grinder is ideal for curves, notches, and small adjustments.
- Perfect for rounded shapes and corners
- Produces more dust
- Works best outdoors
Hole Saws and Drill Bits
Use diamond-tipped hole saws and porcelain-rated bits for plumbing cutouts. Keep them wet for best results.
Other Essentials
- Measuring tape and pencil
- Carpenter’s square or straightedge
- Painters tape
- Rubbing stone or sanding block
- Sturdy work surface or tile stand
- Clamps for stabilizing pieces
Understand Your Cut Types: Floors vs Walls vs Backsplashes
Different parts of a project require different cuts.
- Straight cuts: Most floor and wall tiles
- Rips: Long cuts along large-format tiles
- L-shaped cuts: Around corners, niches, or door frames
- U-shaped notches: For vents, cabinets, or flanges
- Small trims: Shaving small edges for accurate fitting
Visible areas—like backsplashes and niches—need cleaner cuts than hidden areas under trim or cabinets.
Choosing the Right Tool (Simple Decision Guide)
- Large floor tiles: Wet saw
- Standard wall tiles: Manual cutter + wet saw for tricky cuts
- Curves and irregular shapes: Angle grinder
- Plumbing holes: Diamond hole saw
- Mosaics: Wet saw with painter’s tape for stability
How to Cut Porcelain Floor Tiles (Step-by-Step)
Step 1 – Plan Your Layout
- Dry-lay tiles to see how they fit
- Avoid thin slivers near walls
- Align grout joints
Step 2 – Mark Your Cuts
Measure the area and mark the tile on the waste side. Use a square for precision.
Step 3 – Cutting with a Manual Tile Cutter
- Place tile on cutter bed
- Score once with firm pressure
- Snap along the score line
Step 4 – Cutting with a Wet Saw
- Fill water tray
- Check blade condition
- Guide tile slowly through the blade
- Let the blade exit carefully to avoid chips
Step 5 – Smooth the Edges
Use a rubbing stone or sanding block to remove sharpness.
How to Cut Porcelain Wall Tiles for Showers & Vertical Surfaces
Marking for Niches and Borders
Dry-fit tiles, check lines, mark thin pencil lines for precise cuts.
Cutting L-Shaped and Notched Tiles
- Mark both sides of the L shape
- Cut each side separately on the wet saw
- Support the tile to avoid breakage
Drilling Holes for Fixtures
- Use diamond hole saw
- Keep the bit wet
- Start at a slight angle to prevent slipping
How to Cut Porcelain Tile for Backsplashes & Outlets
Cutting Around Outlets
- Mark the outlet box outline
- Make small plunge cuts with wet saw or grinder
- Remove the center cleanly
Mosaics & Mesh-Mounted Tile
- Support sheet with plywood
- Use painter’s tape to hold pieces
- Cut carefully with wet saw
Finishing with Trim
Use bullnose, metal, or PVC trims for polished edges.
Preventing Chips & Common Cutting Mistakes
Ways to Reduce Chipping
- Use a sharp porcelain-rated blade
- Move slowly through the cut
- Keep finished side facing up
- Add painter’s tape over glossy tiles
Mistakes to Avoid
- Cutting extremely thin strips
- Using the wrong blade type
- Skipping test cuts
- Cutting without proper support
When to Call a Pro
For thick, expensive, or specialty porcelain, professional cuts may be worth it.
FAQs About Cutting Porcelain Tile
Can I cut porcelain tile with a regular tile cutter?
Only if the cutter is rated for porcelain. Thick porcelain usually needs a wet saw.
Do I really need a wet saw?
No, but it gives the cleanest cuts and is best for most DIYers.
Why does my tile chip?
Dull blades, rushing cuts, or using non-porcelain blades cause chipping.
Can I cut porcelain with only an angle grinder?
Yes, but it’s better for detail work, not full straight cuts.
What blade do I need?
A diamond blade labeled specifically for porcelain.
Conclusion – Confident DIY Cuts
With the right setup, cutting porcelain tile is about patience—not force. When you measure carefully, choose the right tool, and let the blade work at its own pace, you can get clean, pro-level results on floors, walls, and backsplashes.
Practice on a spare tile, stay safe, and take your time. A little patience saves tiles, money, and headaches.
For premium porcelain tiles, mosaics, and trims, explore the full collections at TileHub and Pebble Tile Shop—perfect matches for the cutting techniques in this guide.