If you’re looking to give your kitchen or bathroom a fresh, stylish update, installing a tile backsplash is one of the most effective ways to do so. A backsplash not only protects your walls from splashes and stains but also adds a personalized touch that can dramatically change the look of your space. Whether you're planning a modern, sleek look or something more rustic and charming, learning how to install a tile backsplash can be a rewarding and cost-effective DIY project.
In this comprehensive guide, we will take you through every step of how to install a tile backsplash from start to finish. This blog post will cover the tools and materials you need, provide detailed instructions, and share helpful tips to ensure your DIY backsplash project turns out beautifully. Let’s dive right in!
Why Install a Tile Backsplash?
Before we get into the specifics of how to install a tile backsplash, let’s take a moment to explore why it’s a great option for your home. Tile backsplashes offer several advantages:
-
Protects Your Walls: Tiles are durable and water-resistant, making them an excellent choice for areas prone to moisture, like kitchens and bathrooms.
-
Easy to Clean: Unlike painted walls, tiles are easy to wipe down and can handle splashes, grease, and spills without staining.
-
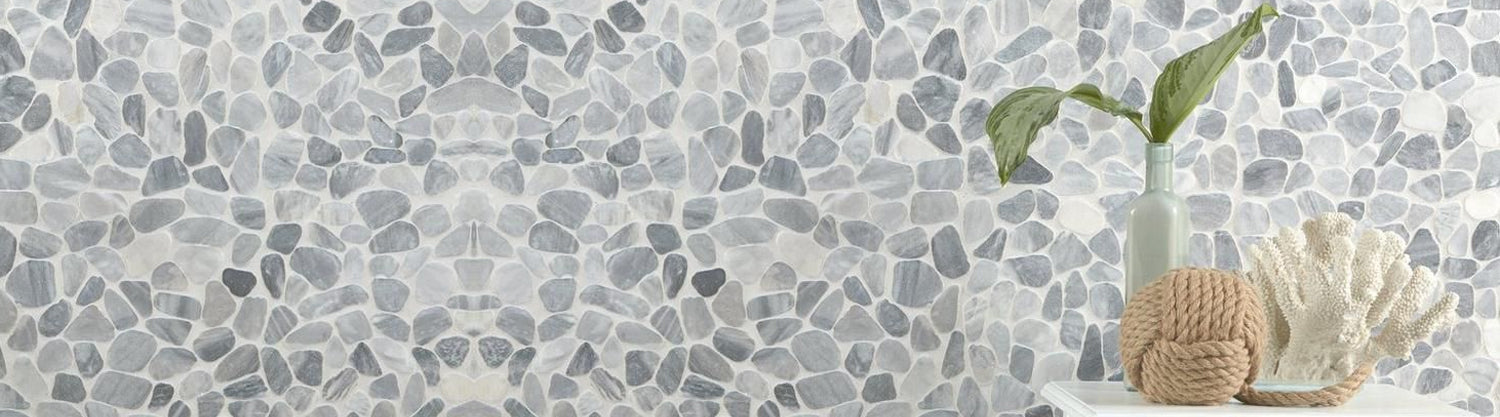
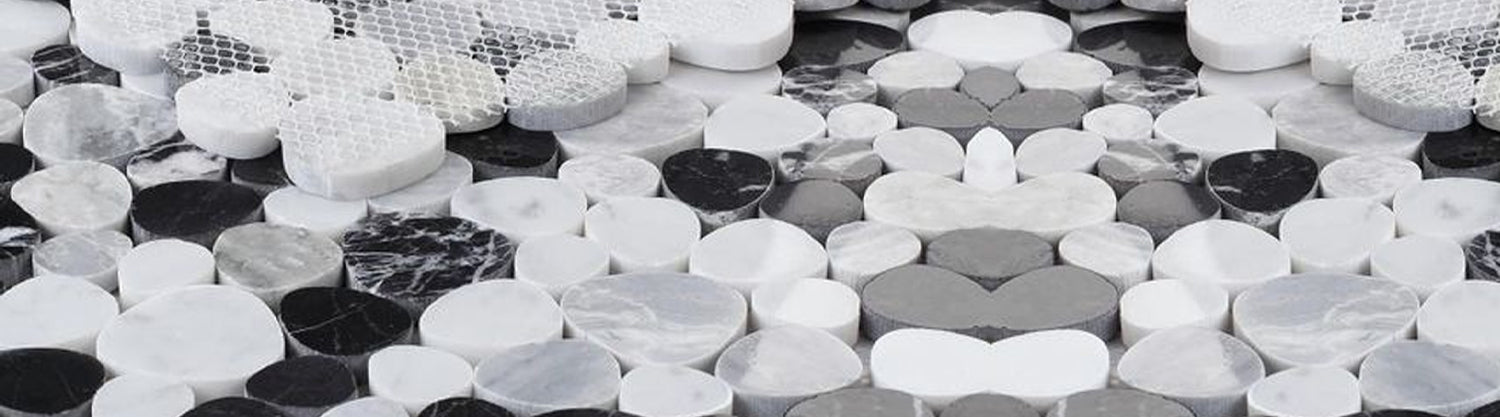
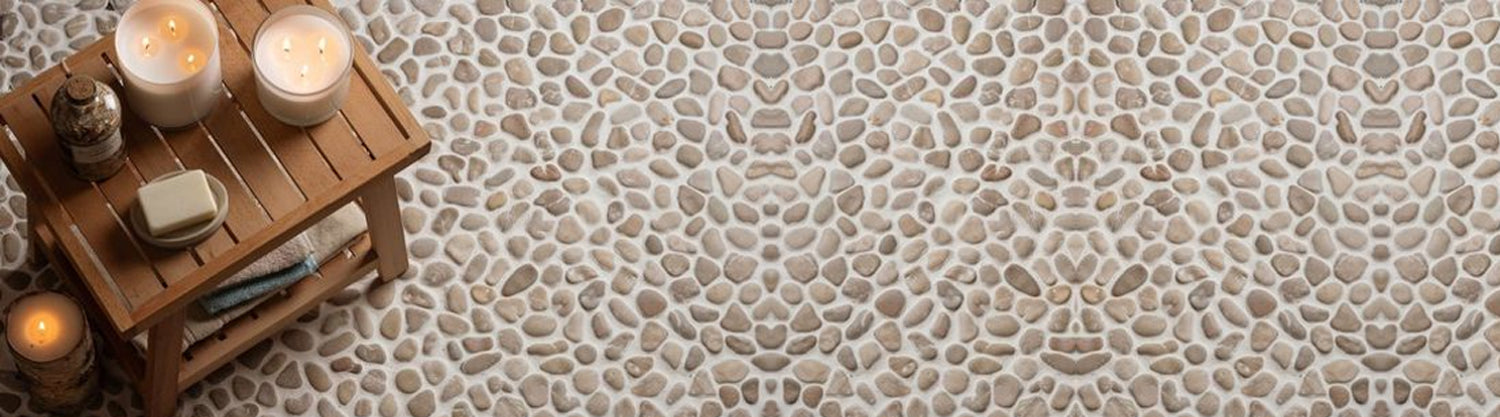
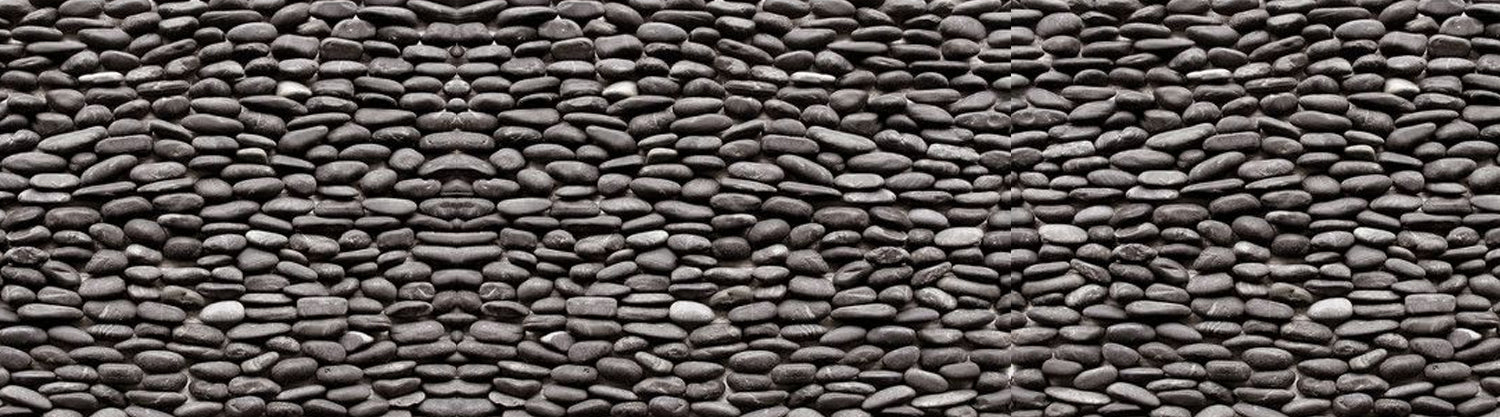
Adds Style and Personality: With endless design options, tile can elevate the look of any space. Whether you choose classic subway tile, intricate mosaic patterns, or natural stone, a tile backsplash can enhance your home’s overall aesthetic.
-
Increases Home Value: A well-installed tile backsplash can increase the resale value of your home, especially in high-traffic areas like the kitchen.
Now that we’ve established why installing a tile backsplash is a great idea, let’s jump into the process of how to install a tile backsplash.
Step 1: Gather the Necessary Tools and Materials
The first step in how to install a tile backsplash is to gather all the materials and tools you’ll need for the project. Having everything prepared in advance will make the process smoother and less stressful. Here's what you’ll need:
Materials:
-
Tile (ceramic, porcelain, stone, glass, etc.)
-
Thin-set mortar or tile adhesive (for most tiles, thin-set mortar works best)
-
Grout (choose a grout color that complements your tile)
-
Tile spacers (for consistent grout lines)
-
Caulk (for finishing edges around the backsplash)
-
Tile trim or edge pieces (optional)
-
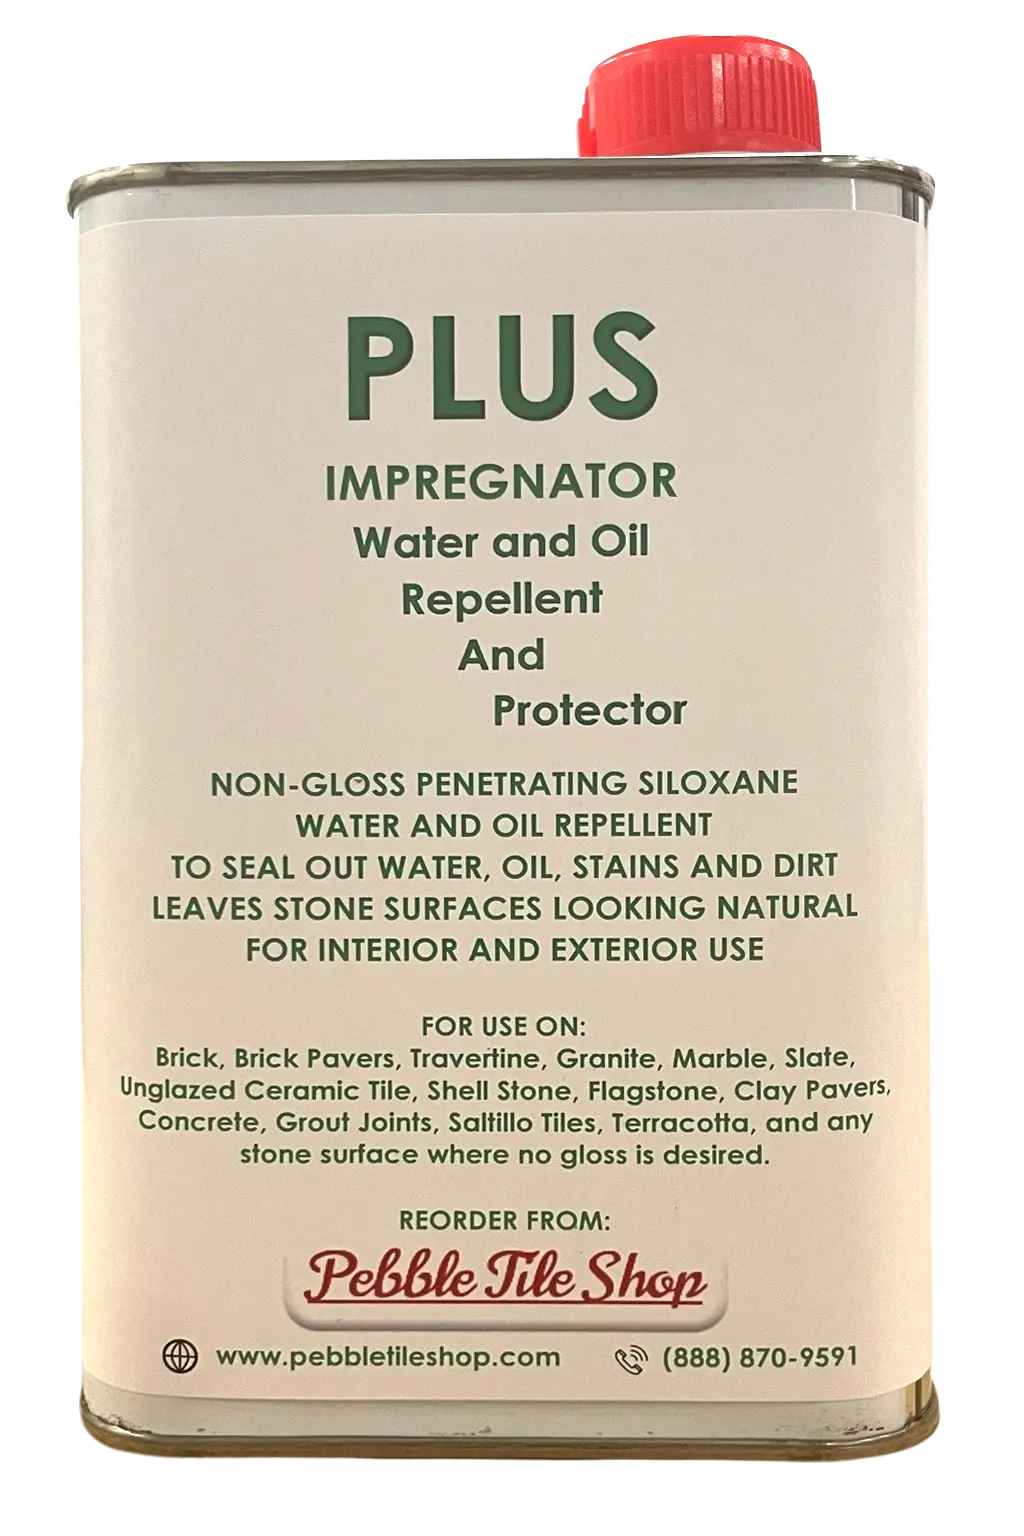
Grout sealer (to protect the grout from stains and moisture)
Tools:
-
Tape measure (to measure the area accurately)
-
Level (to ensure your tiles are installed straight)
-
Tile cutter (manual or wet saw, depending on the type of tile)
-
Notched trowel (for spreading adhesive evenly)
-
Rubber grout float (for applying grout)
-
Sponge and bucket (for cleaning grout)
-
Pencil and ruler (for marking cut lines)
-
Painter’s tape (for marking areas and protecting surrounding surfaces)
-
Utility knife (for cutting caulk and other minor trimming)
-
Safety gear (gloves and goggles for protection)
Make sure you have everything ready before you begin. Organizing your workspace and tools will make how to install a tile backsplash much more efficient.
Step 2: Prepare the Wall Surface
Proper surface preparation is essential when learning how to install a tile backsplash. If the wall is not clean and smooth, the adhesive might not bond properly, leading to tile slippage or uneven placement. Here’s how to prepare the wall:
-
Clean the Wall: Remove any grease, dirt, or dust from the area where you plan to install the backsplash. Use a damp cloth or sponge to wipe down the surface.
-
Patch Holes: If the wall has any holes or imperfections, use joint compound or spackle to fill them. Once dry, sand the area smooth to create an even surface.
-
Protect Adjacent Surfaces: Use painter’s tape to cover countertops, cabinets, or anything else you don’t want to get adhesive or grout on. It will make cleanup easier and protect those surfaces from damage.
Once the wall is prepped and dry, you’re ready to start planning your tile layout.
Step 3: Plan Your Tile Layout
Before you start spreading adhesive, it’s essential to plan your tile layout to ensure that your tiles are arranged evenly and symmetrically. Here’s how to do it:
-
Measure the Wall: Use a tape measure to determine the dimensions of the area you’ll be tiling. Measure both the width and height to calculate how many tiles you’ll need.
-
Dry Fit the Tiles: Lay the tiles on the floor or countertop in the same pattern you plan to use on the wall. This will help you get a sense of how the tiles fit together and whether any cuts will be necessary.
-
Find the Center: To create a balanced design, start tiling from the center of the wall. Mark the center with a pencil or chalk line. Then, work your way outward to the edges.
-
Use Tile Spacers: Insert tile spacers between the tiles to ensure even grout lines. The standard gap is usually 1/16” to 1/8”, but this will depend on the style of tile you’re using.
Taking the time to plan the layout is one of the most important steps in how to install a tile backsplash. A well-planned layout will give you a professional-looking result.
Step 4: Apply the Adhesive
Now it’s time to spread the adhesive. Depending on your tile type, you may use thin-set mortar or mastic adhesive. Thin-set mortar is the preferred choice for most installations, as it provides a strong bond. Here's how to apply it:
-
Mix the Adhesive: Follow the manufacturer's instructions to mix the thin-set mortar. The consistency should be thick but spreadable, similar to peanut butter.
-
Spread the Adhesive: Using a notched trowel, apply a thin, even layer of adhesive to the wall in small sections. Hold the trowel at a 45-degree angle to ensure the adhesive is spread evenly with grooves.
-
Set the First Tile: Press the first tile into the adhesive, starting at the center of the wall. Gently twist it back and forth to ensure a good bond. Use a level to check that the tile is straight.
-
Continue Tiling: Place the remaining tiles, inserting spacers between each one. Continue to work outward, ensuring that all tiles are level and evenly spaced.
How to install a tile backsplash becomes easier with practice, so take your time and make sure each tile is securely placed before moving on.
Step 5: Cut the Tiles
When installing a tile backsplash, you’ll likely need to cut some tiles to fit around outlets, edges, or corners. Here’s how to do it:
-
Measure and Mark: Use a pencil to mark the tile where it needs to be cut.
-
Cut the Tile: If you're using ceramic or porcelain tile, a manual tile cutter should work for straight cuts. For more intricate cuts, you may need a wet saw or tile nippers.
-
Fit the Tile: Once the tile is cut, test it to ensure it fits properly in place. Then, apply adhesive to the back of the tile and set it as you did with the others.
Accurate tile cutting is a key part of how to install a tile backsplash and is essential for achieving a clean, professional look.
Step 6: Apply the Grout
After the adhesive has set and the tiles are in place (usually 24 hours), it’s time to apply the grout:
-
Mix the Grout: Follow the manufacturer’s instructions to mix the grout. It should have the consistency of thick peanut butter.
-
Apply the Grout: Using a rubber grout float, spread the grout over the tiles, working it into the joints. Be sure to fill all the gaps between the tiles.
-
Clean Excess Grout: After applying the grout, use a damp sponge to wipe away the excess. Rinse the sponge frequently to avoid smearing grout onto the tiles.
Grouting is an important part of how to install a tile backsplash because it creates the clean lines between tiles and ensures a finished look.
Step 7: Seal the Grout and Caulk the Edges
Once the grout has dried, you’ll need to seal it to protect it from stains and moisture. Additionally, apply caulk to seal the edges of the backsplash:
-
Seal the Grout: Apply a grout sealer following the manufacturer’s instructions to protect it from dirt and moisture.
-
Caulk the Edges: Apply caulk along the edges where the backsplash meets the countertop or cabinets. This will create a water-tight seal and prevent moisture from getting behind the tiles.
Conclusion
Installing a tile backsplash may seem like a daunting task, but with the right tools and a little patience, it’s a DIY project anyone can tackle. By following these steps on how to install a tile backsplash, you’ll achieve a professional-looking result that enhances your home’s aesthetic and functionality.
If you’re looking for high-quality tile options for your backsplash, be sure to check out the Pebble Tile Shop. They offer a wide variety of beautiful and durable tiles that are perfect for your next DIY project. For even more options, check out Tile Hub, the sister company of Pebble Tile Shop, offering a vast selection of tiles to fit any style or budget.
Happy tiling!