The Confidence to Tile Like a Pro
A new floor can transform any space. Whether you’re upgrading your kitchen, bathroom, or entryway, learning how to lay floor tiles yourself can be one of the most rewarding home improvement projects. It saves money, gives you full control over design, and leaves you with a sense of pride every time you walk into the room.
Many first-time DIYers hesitate to start because tile work looks complicated. The truth is that it’s more about patience, planning, and the right technique than it is about professional skill. With a little guidance, anyone can achieve clean lines, even spacing, and a long-lasting finish.
In this guide, you’ll learn every stage of the process: from surface preparation to grouting, sealing, and maintenance. Follow along, and by the end, you’ll know exactly how to tile a floor that looks like it was done by an expert.
What You’ll Need Before You Start
Before jumping into the installation, make sure you have everything ready. Preparation prevents interruptions once you start spreading mortar.
Tools Checklist
-
Notched trowel (size depends on tile thickness)
-
Tile spacers and leveling clips
-
Rubber grout float
-
Tile cutter or wet saw
-
Mixing bucket and drill paddle
-
Chalk line and tape measure
-
Rubber mallet and spirit level
-
Sponge, gloves, and knee pads
Materials List
-
Floor tiles of your choice
-
Thinset or mortar (check manufacturer’s recommendations)
-
Grout
-
Backer board or underlayment
-
Sealer
-
Clean water and rags
Pro tip: If you are working with large-format tiles, invest in a tile leveling system. It prevents uneven edges and keeps your surface perfectly flat.
Step 1: Prep the Surface the Right Way
Proper preparation is the foundation of any successful tile installation. Start by removing any old flooring, nails, or adhesive residue. Sweep and vacuum the area until it’s free from dust and debris.
Next, check the subfloor for dips or high spots. Use a long level or straightedge. The surface should not vary more than 1/8 inch over a 10-foot span. If it’s uneven, use a self-leveling compound to create a smooth base.
For wood subfloors, install cement backer board using screws and thinset underneath for support. On concrete, patch cracks and ensure it’s clean, dry, and fully cured.
Take your time with this step. Most tiling issues, like cracked grout or loose tiles, happen because the base wasn’t prepared properly.
Step 2: Plan and Dry-Lay Your Layout
Laying out your tiles before mixing mortar helps you visualize the final look and minimize cutting errors. Start by finding the center point of the room. Use a chalk line to draw two lines that intersect at the center.
Work outward from the middle in a grid pattern. Place tiles along the lines without adhesive to test your layout. Adjust until you have balanced cuts along the edges of the room.
Use the 3-4-5 method to ensure your lines are square. Measure three feet along one line, four feet along the other, and confirm that the diagonal between them measures five feet. If it does, your layout is perfectly square.
Take photos or mark reference points before you begin setting tiles. This helps you stay aligned once you start working with mortar.
Step 3: Mix and Apply the Mortar
In a clean bucket, mix the thinset mortar according to the instructions on the bag. The consistency should be similar to peanut butter - thick but still spreadable. Let it sit for a few minutes, then mix again before applying.
Spread a small amount of mortar onto the floor using the flat side of your notched trowel, then comb it evenly with the notched edge. Always hold the trowel at a 45-degree angle.
For large tiles, apply a thin layer of mortar on the back of each tile (called back-buttering) to improve bonding.
Pro tip: Choose a trowel size that matches your tile. For standard floor tiles, a ¼ x ⅜ inch notch works well. For large-format tiles, go bigger for better coverage.
Step 4: Start Laying the Tiles
Begin laying tiles along your reference lines at the center of the room. Gently press each tile into the mortar and give it a slight twist to secure it. Insert spacers between tiles to keep grout lines even.
Work in small sections, checking alignment and level frequently. A rubber mallet can help you tap tiles into place without cracking them.
How to Prevent Lippage
Lippage occurs when one tile edge sits higher than the next. To avoid it:
-
Ensure your base is perfectly level.
-
Use a tile leveling system if your tiles are larger than 12 inches.
-
Do not step or lean on freshly laid tiles.
After every few tiles, check your surface with a straightedge or level. Wipe off excess mortar from the joints before it hardens. It’s much easier to clean now than later.
Step 5: Cut and Fit Edge Tiles
Once the main tiles are in place, measure and mark where edge pieces need to go. Always double-check your measurements before cutting.
Use a tile cutter for straight cuts and a wet saw for more precise or curved cuts. Wear safety glasses and gloves while cutting.
Leave a small expansion gap of about 1/8 inch between the tiles and walls. This allows natural movement without cracking the grout later. You can cover this space with baseboards or trim after the tiles set.
Step 6: Grouting for a Clean Finish
Let your tiles sit for at least 24 hours before applying grout. Mix the grout according to the instructions until smooth. Spread it diagonally across the tiles with a rubber float to fill the joints completely.
After about 15 minutes, wipe off the excess grout with a damp sponge, rinsing it often. Once the grout dries slightly, buff away any haze with a dry cloth.
Choosing the Right Grout
-
Sanded grout: Best for joints wider than 1/8 inch.
-
Unsanded grout: Better for smaller joints and polished tiles.
-
Epoxy grout: Durable and stain-resistant but more expensive.
Step 7: Seal and Maintain Your New Floor
Once the grout has cured (usually after a few days), apply a grout sealer using a brush or applicator bottle. Sealing protects against moisture and stains, especially in high-traffic areas like kitchens or bathrooms.
To keep your new floor looking fresh:
-
Use gentle cleaners, not acidic ones.
-
Avoid dragging heavy furniture.
-
Reseal grout every year or two depending on use.
You’ve now completed a full tile installation - a professional result you can be proud of.
Troubleshooting and FAQs
Tiles look uneven after drying
This usually happens when mortar was spread unevenly or the floor wasn’t level. A small amount of variation is normal, but if it’s noticeable, use leveling clips next time for perfect results.
Grout is cracking
Cracks often appear when there’s no expansion gap along the wall or the floor has too much flex. Make sure to leave space around edges and use a proper underlayment.
Tiles sound hollow when tapped
This means there are air pockets under the tile. The best prevention is spreading mortar evenly with full coverage.
Don’t worry if you make small mistakes. Even professionals adjust as they go. The key is patience and paying attention to details.
Final Thoughts: From DIY to Design Confidence
Laying floor tiles takes time, but it’s absolutely achievable with the right approach. Every cut, placement, and joint adds up to a result that not only looks beautiful but lasts for years.
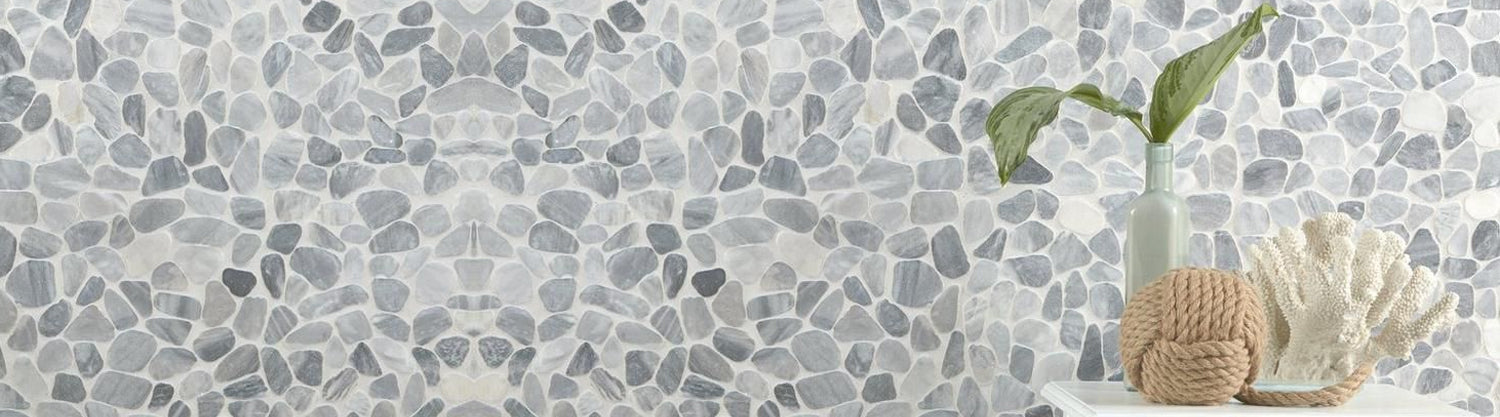
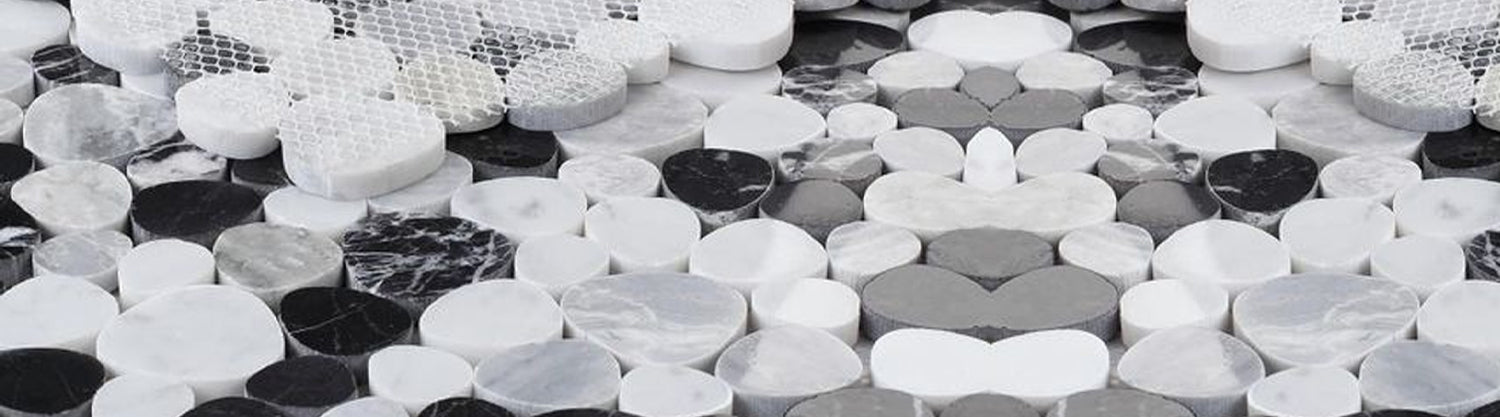
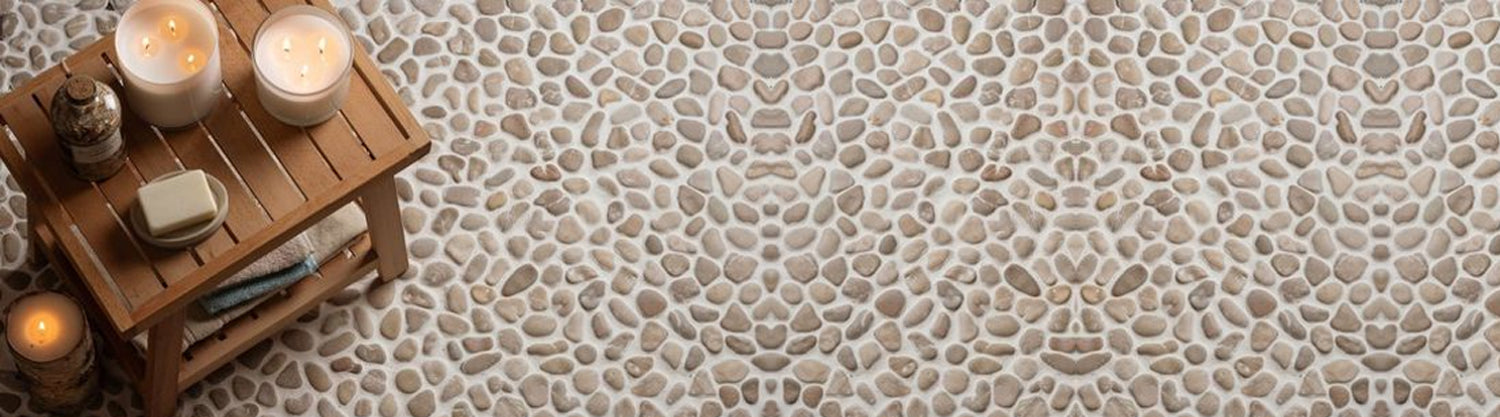
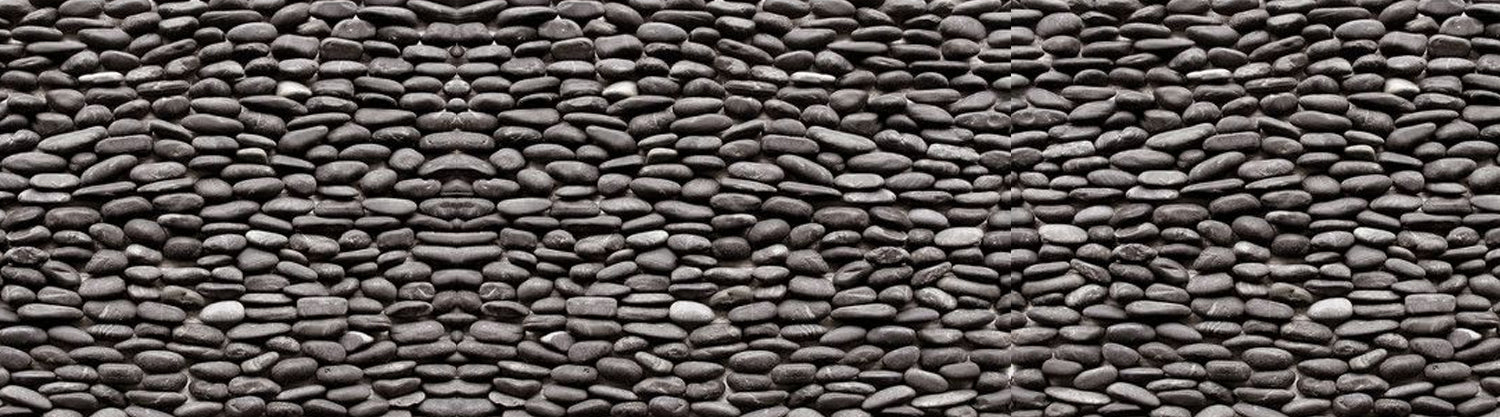
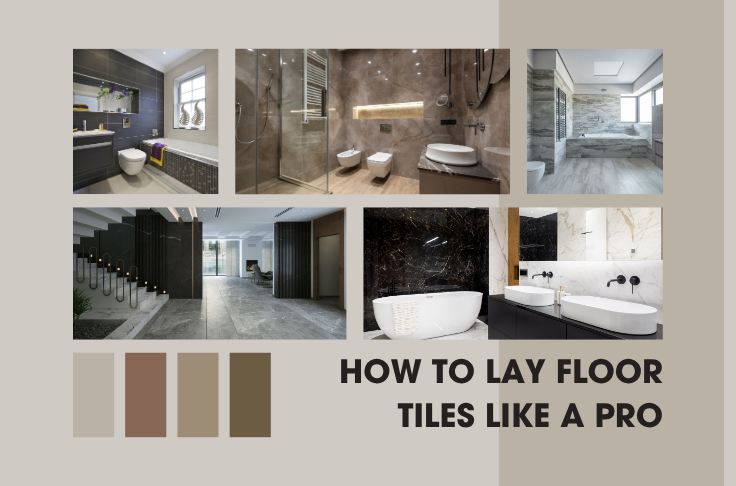
When you’re ready to start your own flooring project, choose tiles that inspire you. From timeless stone looks to modern porcelain finishes, TileHub offers a wide selection of premium floor tiles that make every design vision possible.
Ready to get started? Explore durable, stylish floor tiles at TileHub and bring your DIY dream floor to life today.