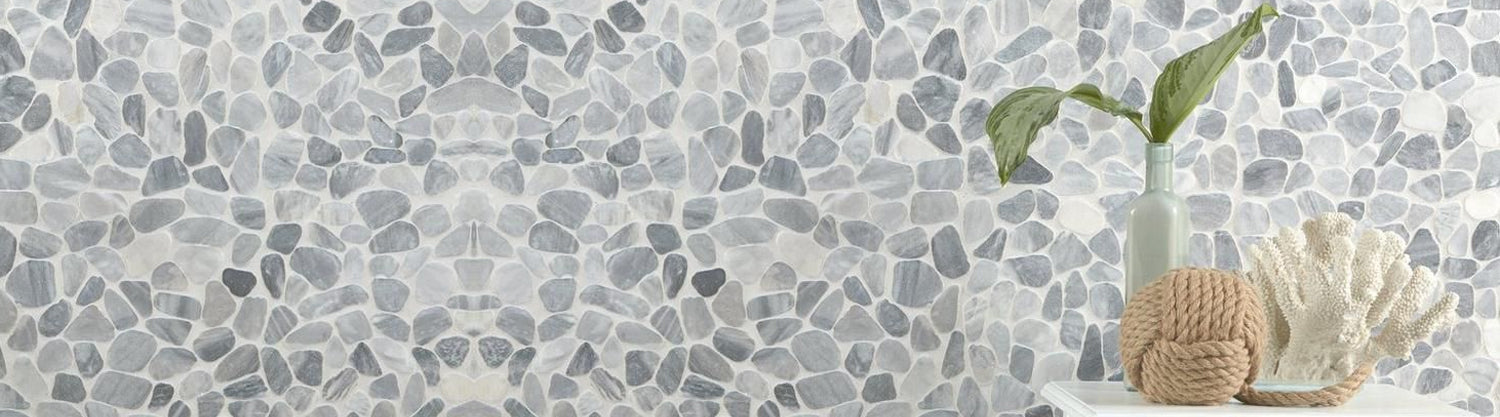
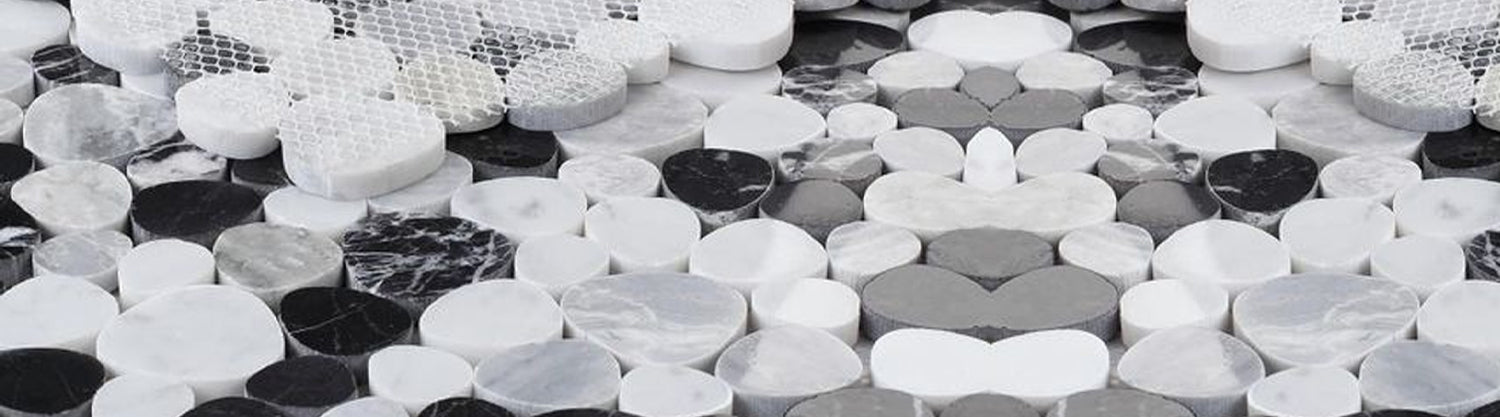
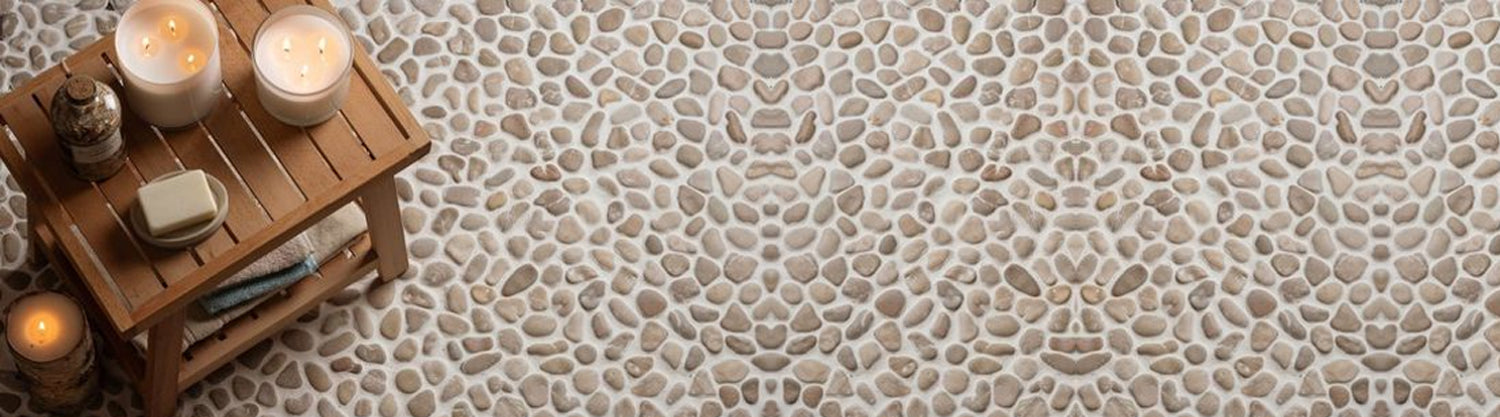
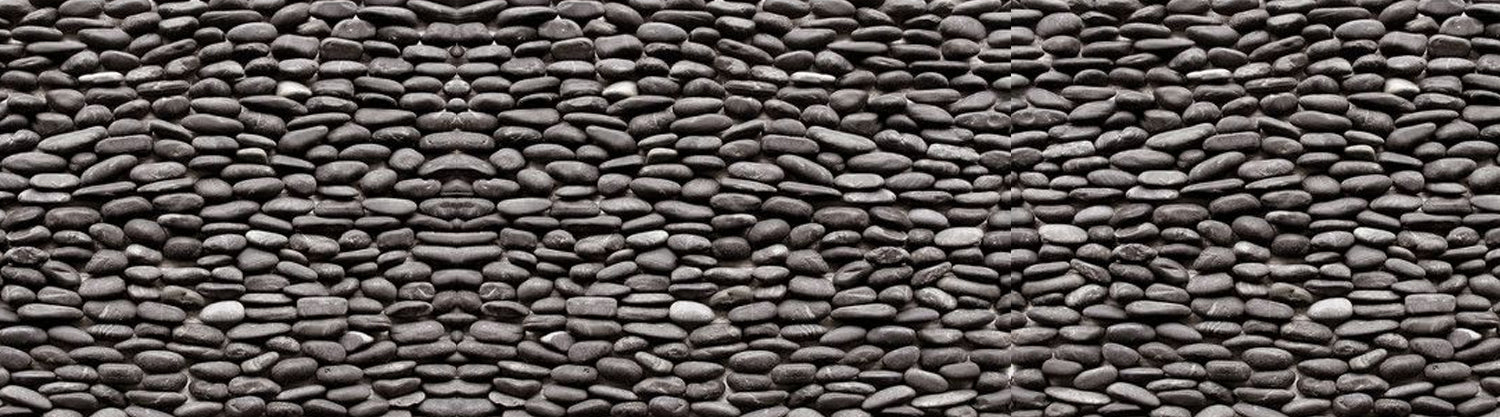
Installing pebble tiles is one of the best ways to bring an elegant, natural touch to any space. Whether you’re looking to enhance your bathroom, kitchen, outdoor areas, or any other space, pebble tiles offer a unique and sophisticated appearance that adds character and texture. They have grown in popularity over the years, with homeowners and interior designers alike embracing the aesthetic charm they offer. However, despite their beauty and versatility, pebble tile installation can be tricky and requires attention to detail.
If you’re planning to install pebble tiles yourself or hire a contractor for the job, it’s essential to avoid common mistakes that can lead to poor results, costly repairs, or even damage to your newly-installed tiles. In this blog post, we will cover 5 common mistakes to avoid when installing pebble tiles and provide tips on how to achieve a flawless installation. By understanding these common pitfalls and how to sidestep them, you’ll be able to create a stunning and lasting result.
Let’s dive into these mistakes and learn how to avoid them!
Mistake 1: Not Properly Preparing the Surface
Why It Matters
One of the most significant and common mistakes when installing pebble tiles is failing to properly prepare the surface. Surface preparation is crucial to the longevity and appearance of your pebble tiles. If the surface isn’t level, clean, or well-prepared, it can result in uneven tiles, gaps, and poor adhesion, which can lead to problems down the road.
How to Avoid It
Before you begin laying pebble tiles, make sure that the surface is smooth, clean, and dry. If you're installing them on a floor, be sure that the subfloor is level and free of any imperfections. This may involve removing any old flooring, sanding down rough spots, or filling in low areas with an appropriate filler material.
For wall installations, ensure the wall is clean and free of any dust, grease, or residue. This will help the adhesive bond securely and create a stable foundation for your tiles. It’s also a good idea to apply a primer before installing pebble tiles, especially if you’re working with a porous or uneven surface.
If you’re installing the tiles in a high-moisture area, such as a bathroom or shower, make sure to use a waterproofing membrane to prevent any moisture issues. Taking the time to properly prep the surface is a small step that can make a significant difference in the final outcome.
Mistake 2: Using the Wrong Adhesive
Why It Matters
Another common mistake people make when installing pebble tiles is using the wrong adhesive. Pebble tiles are heavy and require a strong adhesive to ensure they stay securely in place. If you use an adhesive that isn’t suitable for the type of tiles you are working with, you may experience tiles loosening, shifting, or even falling off over time.
Additionally, some adhesives are not waterproof, which can cause the tiles to loosen in wet or high-humidity environments like bathrooms or kitchens.
How to Avoid It
To avoid adhesive-related issues, always use the right kind of adhesive for pebble tiles. A high-quality thin-set mortar or tile adhesive designed for use with stone or natural materials is recommended. These adhesives are specially formulated to support the weight and texture of pebble tiles while providing strong bonding and long-lasting results.
When installing in areas like bathrooms or kitchens, make sure to choose a waterproof adhesive to prevent moisture damage. Consider consulting with a professional or speaking with the supplier of your pebble tiles to ensure you are using the correct product for your installation needs.
It’s also important to apply the adhesive evenly, as inconsistent application can cause uneven surfaces and tiles that don’t sit flush against the wall or floor. A notched trowel works best for spreading adhesive evenly and ensuring proper coverage.
Mistake 3: Laying Tiles Without a Plan
Why It Matters
Laying pebble tiles without a clear plan or layout can lead to uneven results, awkward tile placements, and wasted tiles. While pebble tiles can appear random in their design, it’s important to plan ahead and ensure a cohesive and visually appealing installation. Without a strategy, you may end up with uneven grout lines, poorly aligned tiles, or even end up with awkwardly cut tiles at the edges.
How to Avoid It
Before you start installing your pebble tiles, take time to plan out the layout. Begin by dry-laying the tiles in the area where they will be installed. This allows you to get a feel for the arrangement and make any necessary adjustments before applying adhesive.
Consider the direction in which you want the pebbles to flow. Since the tiles often have a natural, uneven appearance, a little bit of planning can help ensure the pebbles are aligned in a way that enhances the overall look. You may also want to use tile spacers to maintain consistent spacing between the tiles and prevent any misalignment.
If you're working with a large area, start in the center of the room and work your way out toward the edges. This will help ensure that the most visible areas are well-balanced and avoid having small, cut tiles in highly visible locations.
For corners and edges, plan for how to cut the tiles to fit neatly without disrupting the overall aesthetic. This can involve using a tile cutter or wet saw to achieve the right fit, but make sure to account for the natural, uneven edges of the pebbles.
Mistake 4: Neglecting Proper Grouting Techniques
Why It Matters
Grouting is essential for giving your pebble tile installation a finished, polished look. However, if not done correctly, grout can become uneven or appear messy, which may detract from the overall beauty of your design. Using too much grout, not cleaning it properly, or leaving gaps can lead to issues with tile adhesion, water retention, and overall aesthetic quality.
How to Avoid It
After your pebble tiles have been installed and the adhesive has cured, it’s time to grout. Make sure you select the right type of grout for pebble tiles. Generally, a sanded grout works best for pebble tiles because it helps fill in the wider grout joints that are common with pebble installations.
When applying the grout, use a rubber float to press it firmly into the spaces between the tiles. Be careful not to apply too much grout, as this can lead to an uneven finish. Once the grout is applied, wipe away any excess with a damp sponge, making sure to keep the surface of the tiles clean and free from grout haze.
To prevent water from seeping behind the tiles, ensure the grout is applied evenly and fills the entire joint. Also, be sure to allow the grout to fully cure before exposing it to water or moisture.
Mistake 5: Rushing the Curing Process
Why It Matters
Many DIYers and even some professionals make the mistake of rushing the curing process after installing pebble tiles. Whether it’s the adhesive, grout, or sealant, each step requires adequate drying and curing time to ensure a secure bond and flawless finish. Failing to wait for these materials to cure fully can result in uneven tiles, grout cracking, or tiles that loosen over time.
How to Avoid It
Patience is key when it comes to installing pebble tiles. Always follow the manufacturer's instructions for curing times and allow each layer to fully set before moving on to the next step. This includes allowing the adhesive to cure for at least 24 hours before grouting, and waiting 24-48 hours for the grout to dry before sealing or using the space.
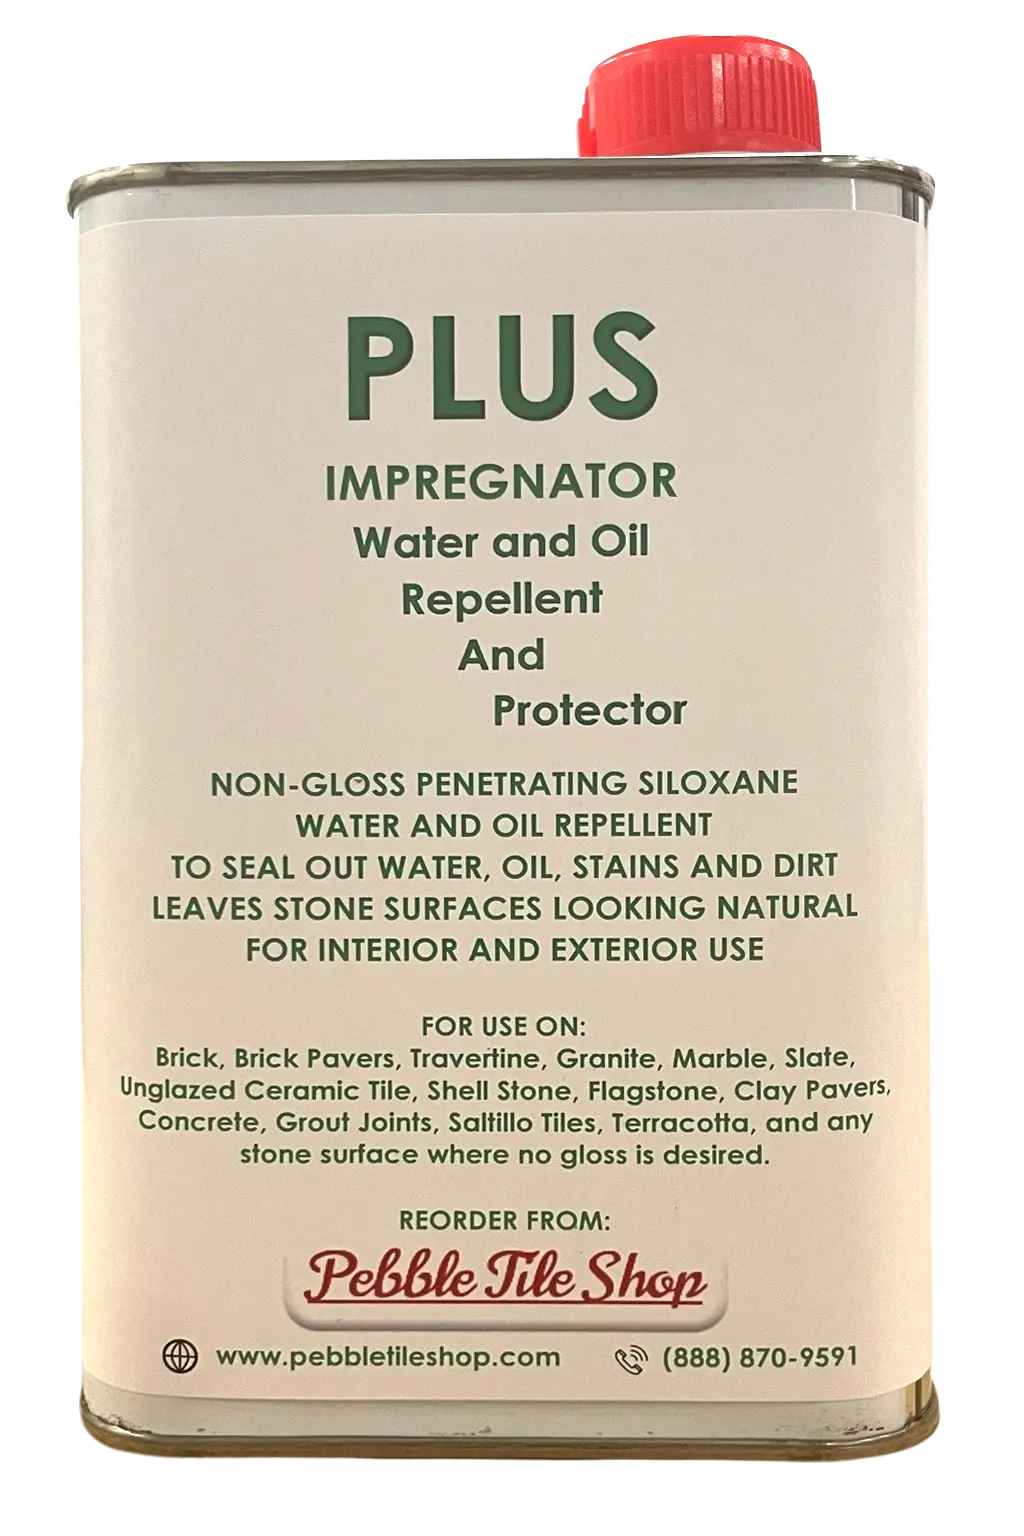
Additionally, after the installation is complete and everything has cured, be sure to apply a sealant to protect the tiles and grout from water damage, stains, and dirt buildup. This extra layer of protection will ensure that your pebble tiles remain beautiful and durable for years to come.
The Right Place for Quality Pebble Tiles
When installing pebble tiles, it’s important to take the time to avoid these common mistakes. By properly preparing your surface, selecting the right adhesive, planning your layout, grouting carefully, and allowing adequate curing time, you’ll be able to create a stunning and long-lasting installation that will elevate the beauty of any space.
If you’re in the market for high-quality pebble tiles, be sure to visit Pebble Tile Shop. We offer a wide range of beautiful, durable, and stylish pebble tiles that will perfectly complement your home or commercial project. With our dedication to providing top-notch products and exceptional customer service, Pebble Tile Shop is your go-to destination for all things pebble tiles.
Additionally, don’t forget to check out Tile Hub, a sister concern company of Pebble Tile Shop, for even more tile options and inspiration for your next project. Whether you're renovating your kitchen, bathroom, or outdoor space, Tile Hub and Pebble Tile Shop are here to help you achieve the best results with quality materials and expert advice.
By avoiding these mistakes and following the right steps, you’ll enjoy a flawless pebble tile installation that adds lasting beauty and charm to your space. Happy tiling!