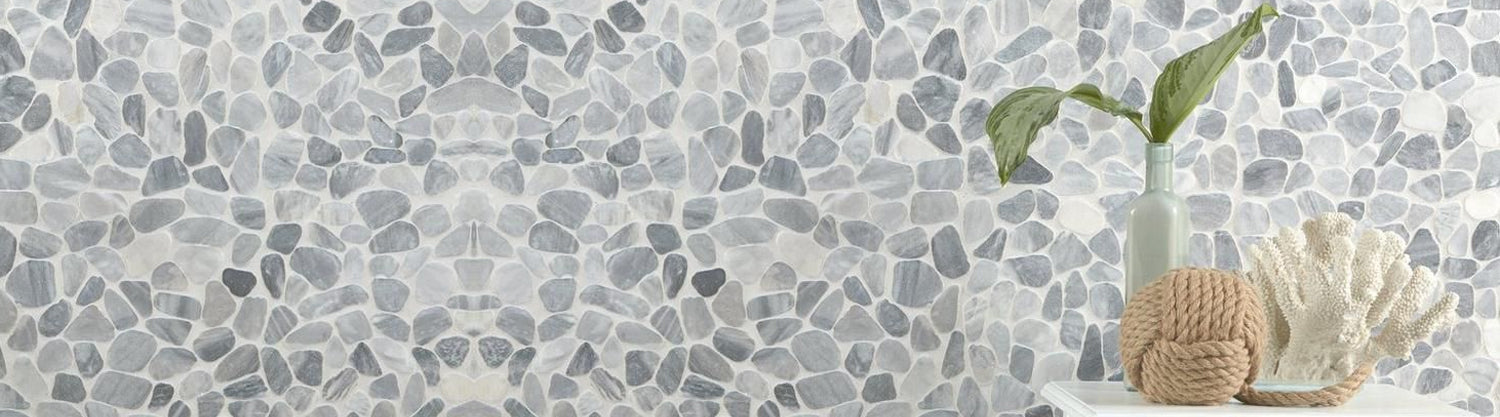
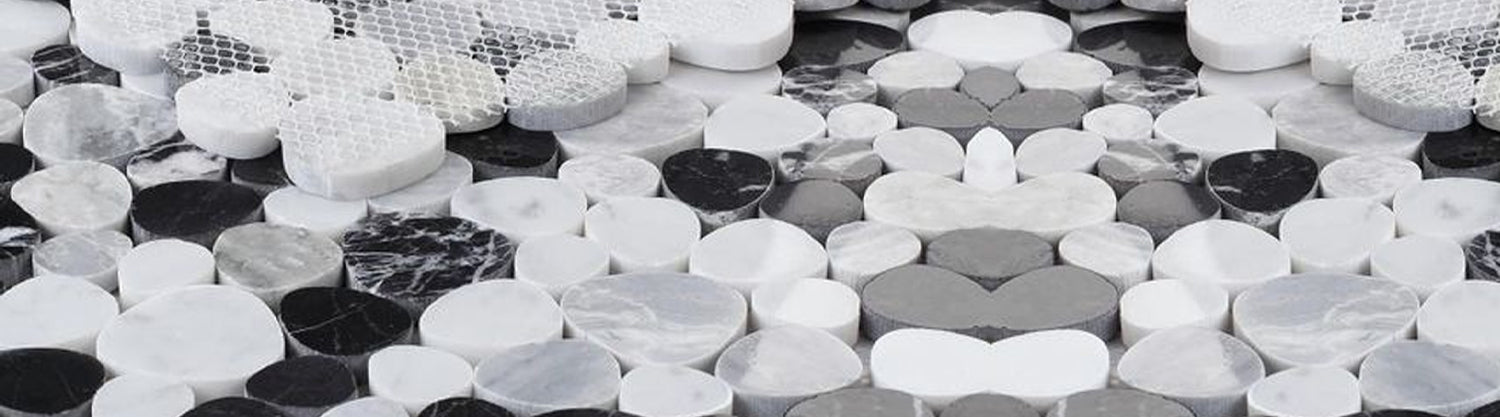
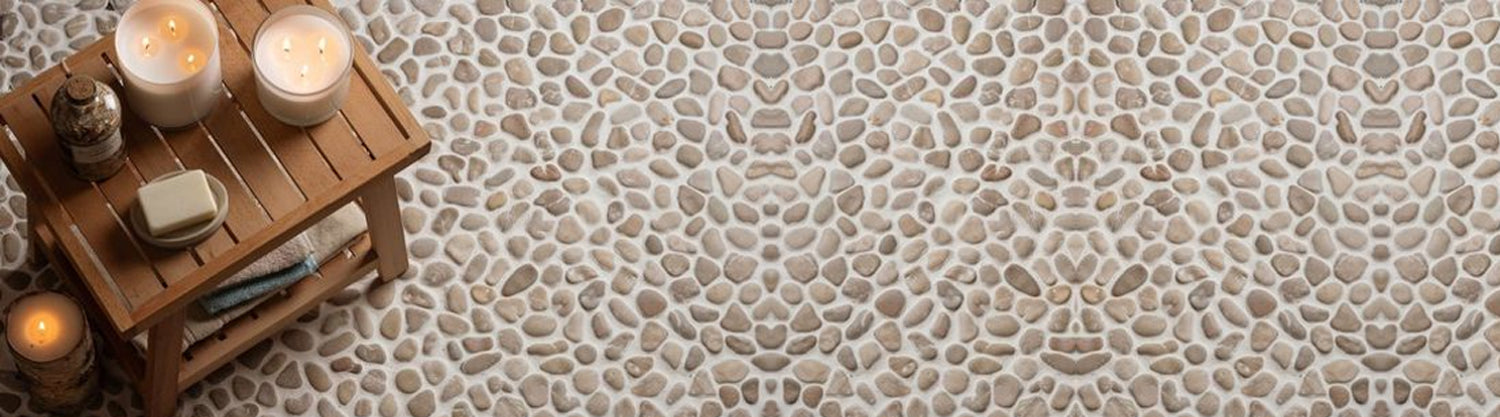
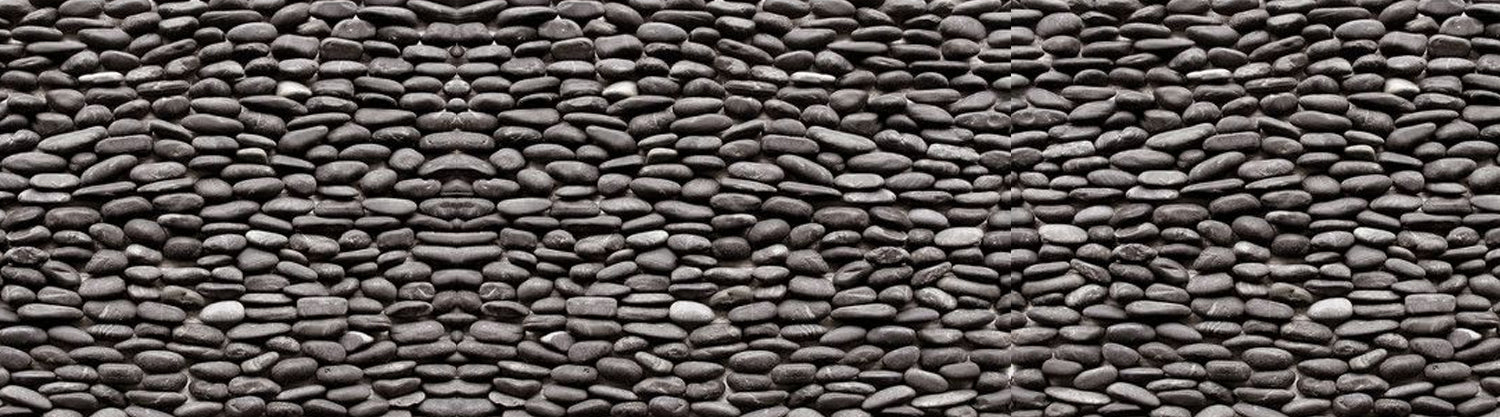
When it comes to enhancing the aesthetic appeal of your living spaces, installing pearl tiles can make a significant difference. Whether you are a seasoned DIY enthusiast or a newbie looking to embark on a home improvement project, learning how to properly install pearl tiles in US homes can be a rewarding experience. By following a comprehensive guide like the one provided by TileHub, you can effortlessly transform your kitchen, bathroom, or any other area into a luxurious oasis. From selecting the right materials to preparing the surface and executing the installation with precision, this step-by-step guide ensures that your pearl tile project is completed seamlessly and successfully. Discover the beauty and elegance that pearl tiles can bring to your home with our detailed instructions tailored for homeowners in the US.
Preparing Your Space: Setting the Foundation for Installing Pearl Tiles
- Surface Assessment:
- It is crucial to inspect the surface where the pearl tiles will be installed. Check for any damage, moisture, or irregularities that could affect the adhesion of the tiles. If needed, repair or prepare the surface accordingly before proceeding.
- Tools and Materials:
- Collect all the necessary tools and materials for the installation process. This typically includes pearl tiles, adhesive, grout, spacers, trowel, sponge, tile cutter, and level. Quality tools and materials ensure a successful and durable installation.
- Clean and Level Substrate:
- Prior to installation, ensure that the substrate is clean, dry, and level. Any debris, dust, or uneven areas can impact the final result. Use a level to check for flatness and make adjustments as needed for a smooth installation.
- Plan and Layout:
- Before starting the installation, plan the layout of the pearl tiles. Consider the focal points, patterns, and cuts required for corners and edges. Dry-fitting the tiles can help visualize the final look and make necessary adjustments.
Step-by-Step Installation: Transforming Your Space with Pearl Tiles from Tilehub
- Surface Preparation: Prior to installing pearl tiles, ensure the surface is clean, dry, and smooth. Remove any existing tiles, debris, or adhesive residues for optimal adhesion.
- Adhesive Application: Use a suitable adhesive recommended for pearl tiles. Apply the adhesive evenly on the surface using a trowel, ensuring complete coverage to prevent tile slippage.
- Tile Placement: Carefully place each pearl tile onto the adhesive, using spacers to maintain consistent gaps. Press the tiles firmly to ensure a strong bond with the adhesive.
- Grouting and Finishing: Once the adhesive has set, remove the spacers and apply grout between the tiles using a rubber float. Wipe off excess grout with a damp sponge for a clean finish. Seal the grout for long-lasting protection.
Troubleshooting and Pro Tips: Overcoming Common Challenges and Enhancing Your Pearl Tile Installation
- Common Installation Mishaps:
- Grout Selection and Application:
- Avoiding Tile Damage:
- Enhancing Longevity with Sealant:
Several issues can arise during pearl tile installation, such as improper adhesive application, uneven spacing, and misaligned tiles. To avoid these mishaps, ensure proper surface preparation, use a high-quality adhesive recommended for pearl tiles, and maintain consistent spacing between tiles throughout the installation. Regularly step back and assess the progress to correct any misalignments promptly.
Choosing the right grout color is crucial for a polished look. Opt for a shade that complements the pearl tiles while also providing a durable and stain-resistant finish. During application, use float to press grout firmly into the spaces, wiping off excess gently with a damp sponge. This will help achieve a professional finish and prevent grout haze from forming on the tiles.
Protect the delicate surface of pearl tiles during installation by using masking tape on edges and covering them with a protective layer to prevent scratches. When cutting tiles, ensure you employ the appropriate tools and techniques to prevent chipping or breakage. Gentle handling and meticulous attention to detail will help maintain the pristine condition of the pearl tiles.
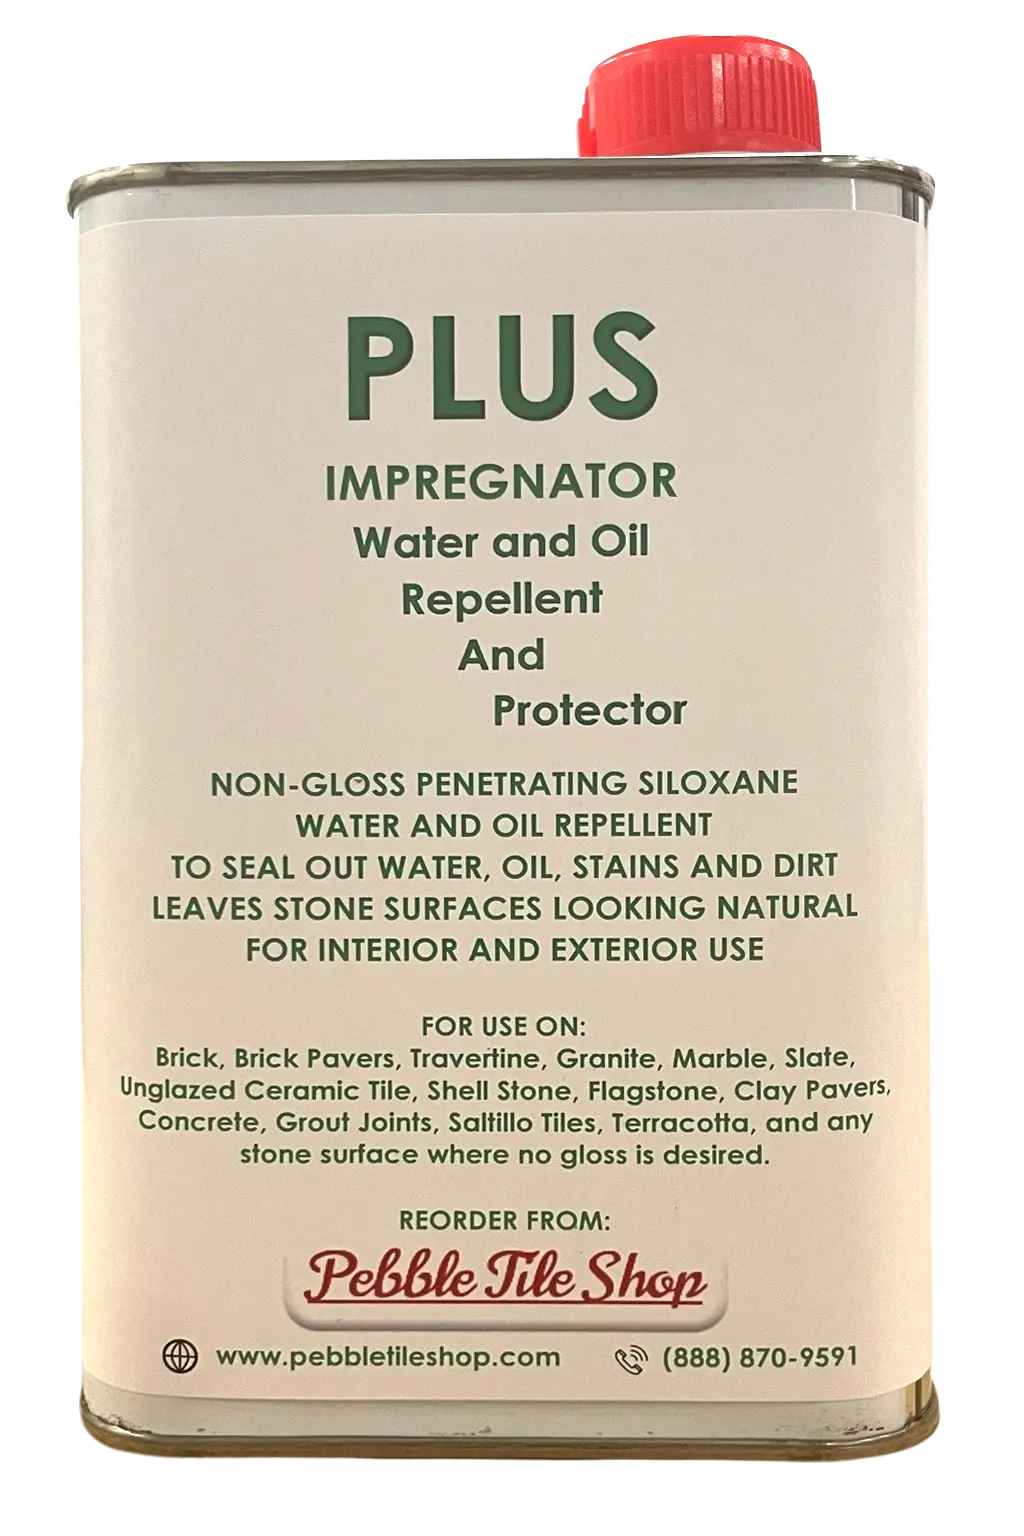
Once the pearl tiles are installed and grouted, enhance their longevity and protect them from stains by applying a high-quality sealant. Follow the manufacturer's instructions carefully, allowing the sealant to dry completely before exposing the tiles to moisture. Regular resealing will preserve the luster and quality of your pearl tiles for years to come.
Maintenance and Care: Preserving the Beauty of Your Pearl Tile Installation in US Homes
- Regular Cleaning Routine:
- Grout Maintenance:
- Preventing Scratches and Chips:
- Professional Inspection:
Establish a weekly cleaning schedule to remove dust and debris from the surface of your pearl tiles. Use a mild detergent or soap mixed with water for gentle cleaning. Avoid harsh chemicals that may damage the tile's luster.
Inspect the grout lines between pearl tiles regularly. Seal the grout to prevent discoloration and moisture penetration. Stained grout can detract from the overall aesthetic of the installation.
Avoid dragging heavy furniture or sharp objects across pearl tiles to prevent scratches and chips. Place felt pads under furniture legs and use rugs in high-traffic areas to protect the tile surface.
Consider hiring a professional tile inspector annually to assess the condition of your pearl tile installation. Address any issues promptly to maintain the longevity and beauty of your tiles.