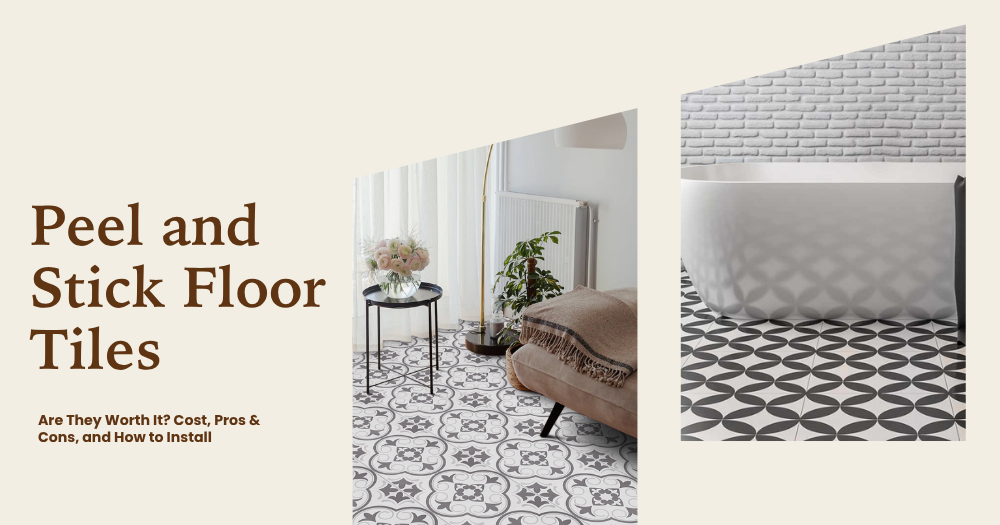
Peel and stick floor tiles make tired rooms feel fresh fast. They’re renter-friendly, budget-smart, and simple enough for a weekend project when you follow a plan. This guide gives you a clear, step-by-step path—from surface checks to that final rolling pass—so your floor looks sharp and stays put.
Why Peel and Stick Floor Tiles Work for Fast Makeovers
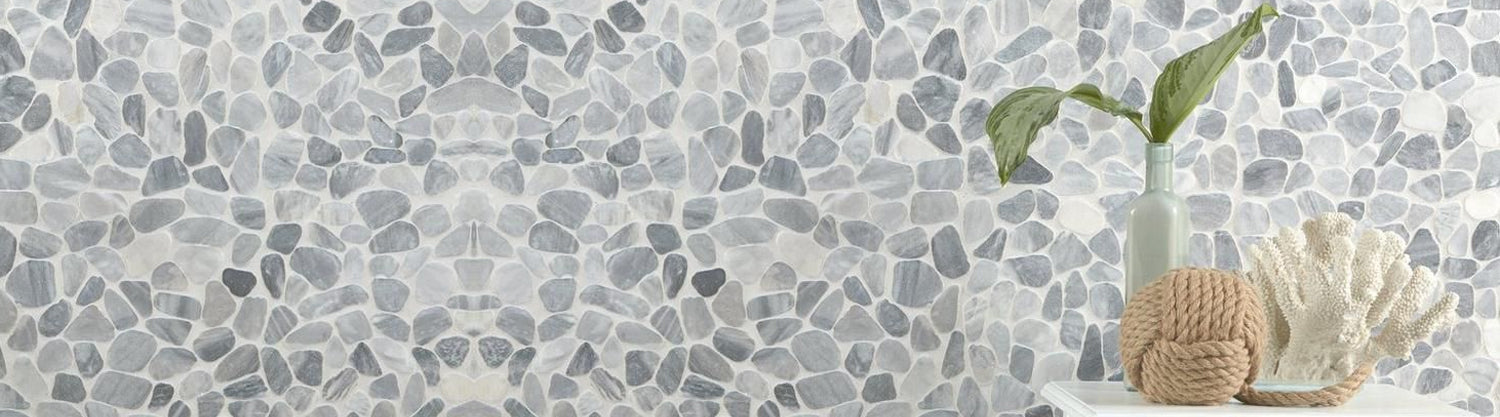
Want a clean, new look without sanding, mortar, or loud tools? Peel and stick floor tiles are a quick upgrade for kitchens, laundry rooms, rentals, and home offices. They’re affordable, easy to cut, and simple to replace if one gets damaged. The secret to a pro look isn’t fancy gear—it’s patient prep and a steady layout.
Quick wins you’ll love
-
Fast installation with minimal mess
-
Easy cutting and fitting around obstacles
-
Renter-friendly and budget-conscious
What Are Peel and Stick Floor Tiles? (And When They’re a Good Fit)
These tiles typically use a vinyl or composite body with a pressure-sensitive adhesive backing. You peel the liner, place the tile, and apply firm pressure to lock it down. They shine in low- to moderate-traffic spaces and on sound, smooth subfloors.
Where they work well
-
Level plywood or concrete subfloors
-
Existing smooth vinyl or sealed surfaces in good condition
-
Kitchens, laundry rooms, entry halls, home offices
Where to think twice
-
Uneven, soft, or crumbling subfloors
-
Damp basements or areas with chronic moisture
-
Rooms with extreme temperature swings
|
Pros |
Cons |
|
Quick install, minimal tools |
Adhesion depends on surface prep |
|
Easy to cut and replace |
Not ideal for heavy moisture |
|
Budget-friendly refresh |
Heat and sun can affect adhesion |
Use peel and stick floor tiles when you want a fast transformation without a full remodel—and when your subfloor is solid and clean.
Tools & Materials — One-Trip Shopping List
-
Peel and stick floor tiles (buy ~10% extra for cuts)
-
Utility knife + fresh blades
-
Metal straightedge and measuring tape
-
Chalk line and pencil
-
J-roller or floor roller (a sturdy rolling pin in a pinch)
-
Degreaser/cleaner, microfiber cloths, vacuum
-
Floor patch/leveler for dips and seams
-
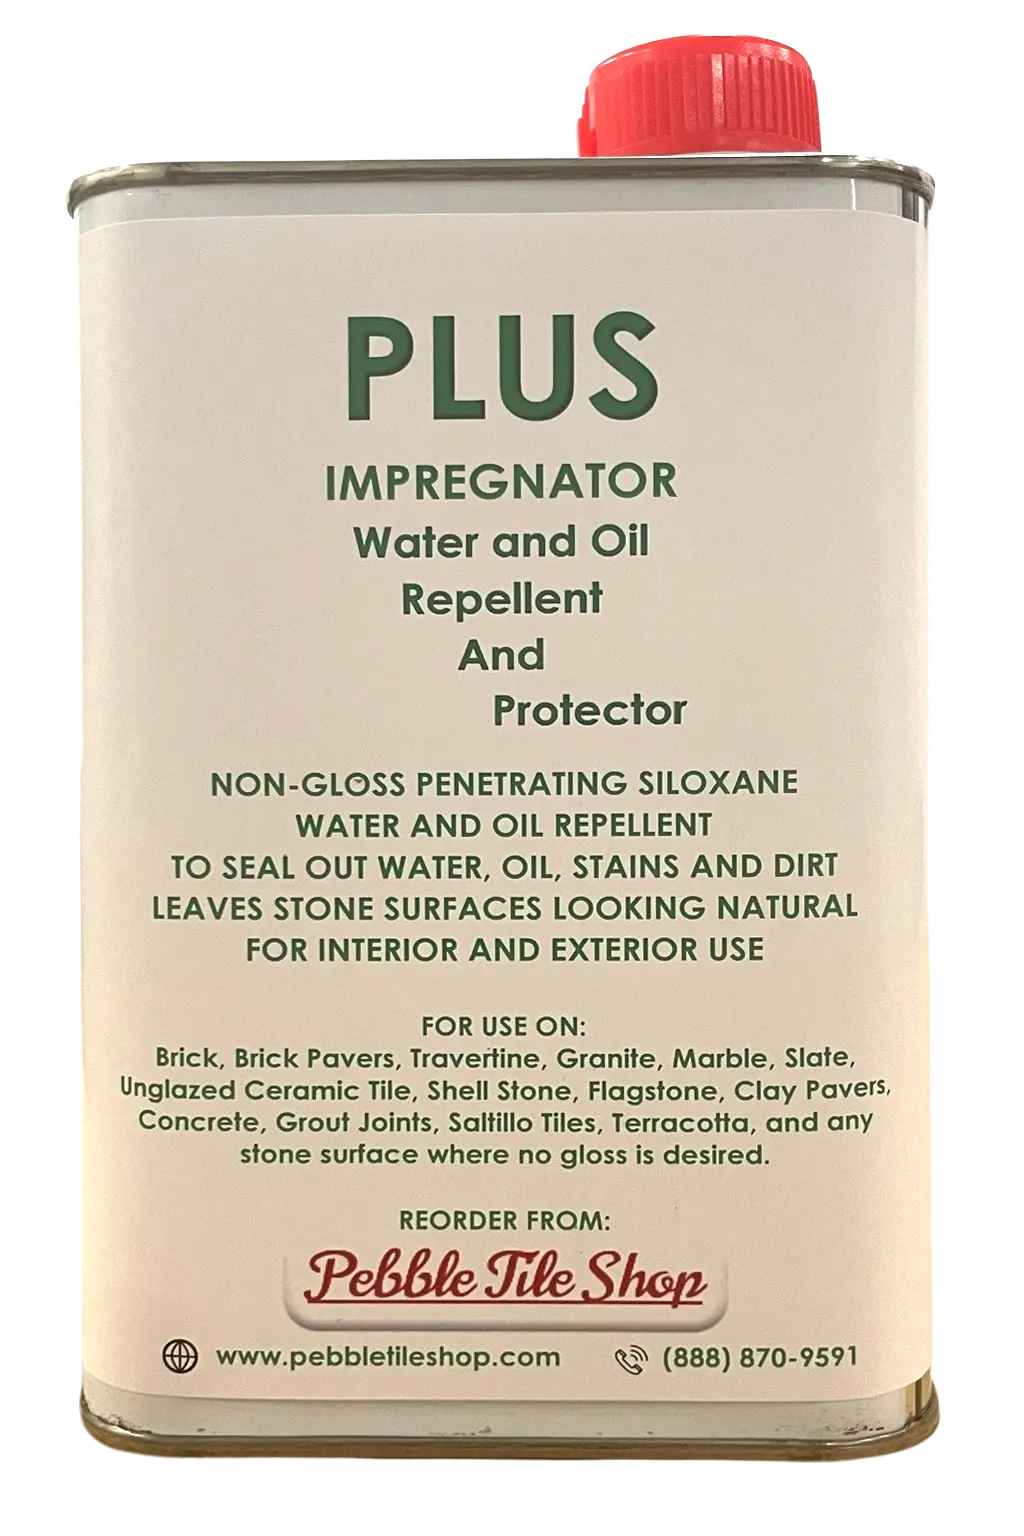
Primer (only if your tile brand recommends it)
-
Knee pads and work gloves
-
Paper or cardboard for templates
-
Transition strips and thresholds (for doorways)
-
Optional: heat gun for tight bends, seam sealer if your brand calls for it
Tip: If your brand lists a specific primer or sealer, use it. Manufacturer systems are tested to work together.
Before You Begin — Surface Readiness Test (Pass/Fail in 10 Minutes)
A great floor starts with a sound surface. Spend a few minutes on these checks:
-
Flatness: Place a 6-foot straightedge across the floor. If you see gaps or high spots greater than about 1/8" (3 mm), skim with a floor patch/leveler and sand smooth once cured.
-
Cleanliness: Degrease, rinse, and dry. Dust, paint flakes, and soap residue all block adhesion. Vacuum thoroughly right before install.
-
Soundness: Fix loose boards or tiles below. Tighten squeaks with screws. Remove any crumbly adhesive or paint.
-
Moisture: Tape a square of plastic to the floor edges sealed with tape and leave overnight. If condensation forms underneath or the surface darkens, address moisture before installing.
-
Primer: Some brands require primer on porous or glossy surfaces. If in doubt, test a tile in a corner: stick it down, roll it, and try lifting after a few hours. Strong bond = good. Weak bond = clean again and prime.
Go/No-Go: If the floor isn’t flat, clean, and dry, pause. Fixing issues now saves you from lifting tiles later.
Layout Planning — Measure Twice, Snap Once
Rushing the layout leads to crooked lines and awkward slivers along the walls. Let’s plan it cleanly:
-
Find center: Measure the midpoints of opposing walls, snap a chalk line, then snap a perpendicular line to form a cross at the room’s center.
-
Dry-fit two rows: Set unpeeled tiles along each line to preview spacing and seams. Adjust so cuts at the walls are balanced. Avoid skinny pieces smaller than ~2".
-
Check the view: Look from the main doorway. Align your pattern with the sightline and the light source.
-
Pattern direction: If your tiles have arrows on the back, keep them consistent unless the brand suggests mixing for a more natural look.
Pro tip: Start your first installed tile at the center, then work toward the most visible wall. Small correction early prevents big headaches later.
Acclimate & Dry-Lay — The 60-Minute Step Most DIYers Skip
Bring unopened boxes into the room at least 24 hours ahead so the tiles adjust to temperature and humidity. During layout, pull from multiple boxes to blend color variations. Dry-lay the first course without peeling to confirm the look, then stack tiles in the order you’ll place them.
Step-by-Step Installation of Peel and Stick Floor Tiles
Quick 8-step snapshot (great for a featured snippet):
-
Snap center lines.
-
Prime if required.
-
Start at the center cross.
-
Peel halfway; align and set.
-
Press by hand.
-
Roll firmly in two directions.
-
Continue, checking alignment every 3–4 tiles.
-
Cut edge pieces, install transitions, then do a final rolling pass.
Now, the full details:
1) Snap control lines and confirm square
Use your chalk cross as the reference for the entire room. Measure diagonals of the first “box” from the center; equal diagonals mean square.
2) Prime if required
If your brand calls for primer on porous or glossy surfaces, apply a thin, even coat and let it dry fully. Don’t rush this—tacky primer traps dust.
3) Position the first tile at the center
Place your first tile so two edges sit along the chalk lines. This “hero tile” sets the tone for everything that follows.
4) Peel halfway, align, and set
Bend the tile gently, peel back half the liner, and align the factory edges with the lines. Lay the exposed half from the center outward. Avoid stretching; vinyl can distort.
5) Press by hand, then roll
After placing the full tile, use your hand to smooth from the middle out. Follow with a J-roller in both directions to activate the pressure-sensitive adhesive. Rolling is not optional—it’s what locks the tile down.
6) Stagger or grid—follow your pattern
If your design looks best staggered, offset seams as directed by the brand. If it’s a grid, keep factory edges tight for crisp lines. Wipe edges clean as you go.
7) Check alignment every 3–4 tiles
Lay a straightedge along seams. If you see drift, correct immediately on the next tile rather than “cheating” later.
8) Edge and corner tiles
Measure gaps carefully. Mark the tile, score lightly several times with a fresh blade, and snap for a clean break. Test-fit before peeling the liner.
9) Around vents and doorjambs
Create a paper or cardboard template first. Trace the template on the tile, score patiently, and test-fit. A low-heat setting on a heat gun can help gentle curves—go slow.
10) Transitions at doorways
Dry-fit reducers or thresholds before installing nearby tiles. Pre-drill for screws if needed, then remove, finish tiling, and reinstall.
11) The rolling pass—twice
Once the field is down, roll the entire floor north-south and then east-west. This step boosts bond and flattens micro-bubbles.
12) Seams and faux grout (brand-dependent)
If your system uses seam sealer or allows faux-grout spacing, follow the exact timing on the label. Don’t mix products across brands.
Use the phrase peel and stick floor tiles sparingly—your layout discipline and rolling technique matter more than repeating the keyword.
Cutting Like a Pro — Curves, Corners, and Obstacles
-
Score-and-snap: Make multiple light passes along a straightedge. Light cuts beat one deep gouge.
-
Scribing: For odd shapes, hold the tile in place with the liner still on, mark the outline, and trim gradually.
-
Tight curves: Warm the tile slightly with a heat gun on low to ease bending—never overheat.
-
Blade discipline: Dull knives tear edges. Swap blades often for clean, factory-looking cuts.
Watch-out: Don’t press a tile into an obstacle hoping it will “mold” to shape. It won’t. Trim to fit.
Post-Install — Roll, Seal, and Wait Times
Give the floor one more full rolling pass. Avoid heavy furniture for 24 hours. If your system includes seam sealer, respect cure times. Keep the room in the recommended temperature range during curing, and hold off on area rugs for 48 hours unless your brand says otherwise.
Simple rules that extend life
-
Felt pads under furniture
-
Wipe spills promptly
-
Keep entry mats clean to stop grit at the door
Common Mistakes (and Quick Fixes)
-
Crooked lines: If you catch it early, gently lift the last tile, realign to the chalk, and re-roll.
-
Gapping seams: Tiles were stretched or edges weren’t factory-tight. Replace the affected tile and avoid tension while setting.
-
Poor stick on painted or glossy floors: Surface wasn’t deglossed or primed. Clean, lightly scuff if allowed, spot-prime, and re-roll.
-
Bumps under tiles: Dust or grit got trapped. Lift carefully, clean both surfaces, and reset immediately.
Care & Maintenance — Keep Your New Floor Looking New
Peel and stick floors are low-maintenance. Skip steam mops and harsh chemicals. Use a pH-neutral cleaner and a soft mop or microfiber pad. Add felt pads to chair and table legs, and use mats at entry points.
Do
-
Vacuum or sweep grit often
-
Clean with mild, pH-neutral products
-
Maintain room temperature within the brand’s range
Don’t
-
Drag appliances without protection
-
Use steam or solvent-heavy cleaners
-
Ignore direct sun—use shades if prolonged exposure heats the floor
When to Call a Pro (Or Choose a Different Material)
Bring in a professional—or reconsider materials—if you’re facing:
-
Deeply uneven or damaged subfloors
-
Persistent moisture issues
-
Large, complex layouts with many obstacles
-
Heavy commercial traffic
Alternatives to consider: glue-down LVT for durability, click-lock SPC for floating installs, or ceramic/porcelain for high-moisture areas when properly prepped.-
Budget & Timing — Real-World Expectations
Here’s a simple way to plan your project:
|
Area |
Materials (tiles + 10% overage) |
Tools |
Time (careful DIYer) |
|
100–150 sq ft |
Based on current TileHub pricing |
Knife, blades, roller, cleaner, primer if needed |
~½ day prep + ~½ day install |
You’ll likely already own a few tools; borrow a J-roller if you can. Always buy extra tiles for future repairs.
Eco & Safety Notes
Choose low-VOC options when available, and ventilate while cleaning and priming. Dispose of used blades in a safe container. If removing old flooring, check for hazardous materials in very old homes and follow local regulations.
Printable DIY Checklist
Prep
-
Level dips > 1/8" (3 mm); sand smooth
-
Degrease, rinse, vacuum; dry fully
-
Fix loose boards/tiles; address moisture
-
Prime if your tile brand requires it
Layout
-
Snap center crosslines; dry-fit two rows
-
Balance wall cuts; avoid slivers under 2"
-
Confirm pattern direction and sightlines
Install
-
Start at center; set the first tile on the cross
-
Peel halfway; align and lay from center outward
-
Hand-press, then roll in two directions
-
Check alignment every 3–4 tiles
-
Cut edges and obstacles with score-and-snap
-
Fit transitions at doorways
Finish
-
Full-room rolling pass
-
Observe wait times for furniture/rugs
-
Clean with pH-neutral products
FAQs About Peel and Stick Floor Tiles
Can I install over ceramic or old vinyl?
If the surface is smooth, sound, and clean, yes. Fill grout lines and degloss shiny areas, and prime if your brand requires it.
Q: Are they waterproof?
A: Most products are water-resistant, not fully waterproof. Wipe spills quickly and follow maker rules for wet areas.
Q: Do I need a primer?
A: Only if your brand says so or your surface is porous or glossy. Always test adhesion before committing.
Q: How long do they last?
A: With good prep and normal household traffic, many last several years. High-traffic zones need more care.
Q: Can I put them in a bathroom or laundry?
A: Yes, if moisture is controlled and the substrate is dry and sound. Seal per brand instructions if required.
Q: What temperature range is safe?
A: Follow the label; avoid extreme heat or cold during installation and curing.
Q: How do I remove a tile later?
A: Warm it gently, lift a corner, and peel slowly. Clean any adhesive residue and replace with a spare tile.
Q: Can I create a grout look?
A: Some systems allow narrow gaps or seam sealer. Use only the products the brand recommends.
Q: How many extra boxes should I buy?
A: Plan for at least 10% overage for cuts and future repairs.
Q: Do I have to use a roller?
A: Yes. Rolling activates the pressure-sensitive adhesive and improves long-term bond.
Conclusion — You’ve Got This
Installing peel and stick floor tiles is one of those satisfying home projects that gives you instant results without a huge mess or expense. With the right prep, a clear layout, and a bit of patience, you can achieve a floor that looks like it was installed by a pro. The key isn’t speed—it’s precision. Take your time with each step, press firmly, and roll every tile for the best bond possible.
Whether you’re refreshing a small bathroom, upgrading a laundry area, or transforming a kitchen, these tiles prove that DIY flooring can look stunning without breaking the bank. Their versatility, affordability, and design range make them a favorite for homeowners and renters alike.
If you’re ready to start your project, explore TileHub’s peel and stick floor tile collection to find styles that match your space—from modern marble effects to rustic stone textures. You’ll also find complementary products like floor primers, trims, and cleaning solutions to complete your look with confidence.
For more tile inspiration and expert guidance, check out our related read Porcelain Tiles Guide – Choosing, Installing & Maintaining Porcelain Tiles from our sister brand, Pebble Tile Shop.
Your new floor is just a few easy steps away—so grab your tools, follow the checklist, and turn your space into something you’ll love walking on every day.