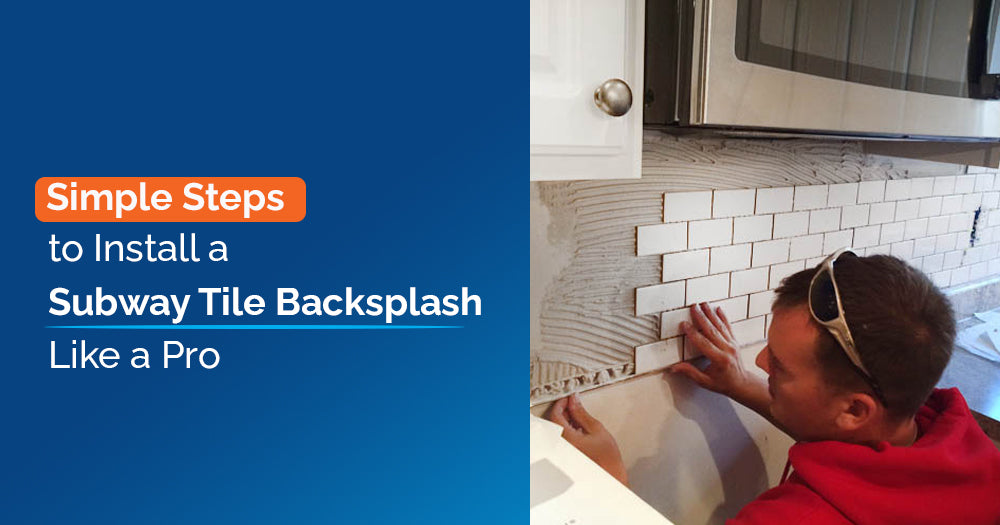
If you're looking to refresh your kitchen or bathroom with a sleek, modern look, installing a subway tile backsplash is a fantastic choice. Subway tiles are renowned for their classic style, ease of maintenance, and versatility. Whether you’re a seasoned DIYer or a homeowner looking to try a new project, understanding how to install subway tile backsplash can help you achieve a professional finish. In this comprehensive guide, we’ll cover everything you need to know about installing a subway tile backsplash, including preparation, installation, and tips for a flawless result.
Why Choose a Subway Tile Backsplash?
Subway tiles have been a popular choice for decades due to their timeless appeal and functionality. Originating from the early 20th century subway stations, these tiles have become a staple in interior design for their clean lines and versatility. Here are some reasons why they are an excellent choice for a backsplash:
- Classic Look: The rectangular shape and subtle grout lines give subway tiles a clean, modern appearance that fits any design style.
- Durability: Subway tiles are durable and easy to maintain, making them ideal for high-traffic areas like kitchens.
- Variety: Available in numerous colors, finishes, and sizes, subway tiles offer endless design possibilities.
- Ease of Installation: With the right tools and a bit of patience, installing subway tiles is a manageable DIY project.
Preparing for Your Subway Tile Backsplash Installation
Before you start installing your subway tile backsplash, proper preparation is key. This ensures a smooth installation process and a professional finish.
- Gather Your Tools and Materials
To install a subway tile backsplash, you’ll need the following tools and materials:
- Subway tiles
- Tile adhesive (thin-set mortar)
- Tile spacers
- Grout
- Grout sealer
- Tile cutter or wet saw
- Notched trowel
- Level
- Measuring tape
- Pencil
- Sponge
- Bucket
Having everything on hand before you begin will streamline the process and help you avoid unnecessary delays.
- Measure Your Space
Accurate measurements are crucial for a successful installation. Measure the area where the backsplash will go and calculate how many tiles you'll need. Adding a little extra to your order is advisable to account for mistakes or future repairs.
- Prepare the Surface
The surface where you will install the subway tile must be clean, dry, and smooth. Remove any existing backsplash or old tiles, clean the wall thoroughly, and repair any imperfections. If you are working with drywall, ensure it is in good condition and consider applying a primer to enhance adhesive bonding.
- Plan Your Tile Layout
Before applying adhesive, plan your tile layout. Start by marking a centerline on the wall with a pencil. This line will help you keep the tiles aligned as you work. Dry-fit the tiles to see how they fit and adjust your layout as needed.
How to Install Subway Tile Backsplash: Step-by-Step Guide
- Apply the Tile Adhesive
Using a notched trowel, spread a layer of tile adhesive (thin-set mortar) onto a small section of the wall. The notched side of the trowel helps create ridges that will ensure a strong bond between the tiles and the wall.
- Install the Tiles
Start by pressing the first tile into the adhesive, aligning it with your centerline. Insert tile spacers between the tiles to maintain consistent gaps. Continue placing tiles in small sections, working outward from the center. For tiles that need to be cut to fit around edges or outlets, use a tile cutter or wet saw.
- Check for Level and Alignment
Periodically use a level to check that your tiles are aligned and evenly spaced. Make any necessary adjustments before the adhesive sets to ensure a straight, professional-looking installation.
- Allow the Adhesive to Dry
Follow the manufacturer’s instructions for drying times. Typically, the adhesive should set for at least 24 hours before grouting.
- Apply the Grout
Once the adhesive is dry, remove the tile spacers and apply grout to the spaces between the tiles. Use a rubber float to press the grout into the gaps, ensuring they are filled completely. Wipe off excess grout with a damp sponge before it hardens.
- Clean the Tiles
After grouting, use a damp sponge to clean the tile surfaces. Be sure to remove any grout haze that may have formed. Rinse the sponge frequently and change the water as needed to prevent grout from drying on the tiles.
- Seal the Grout
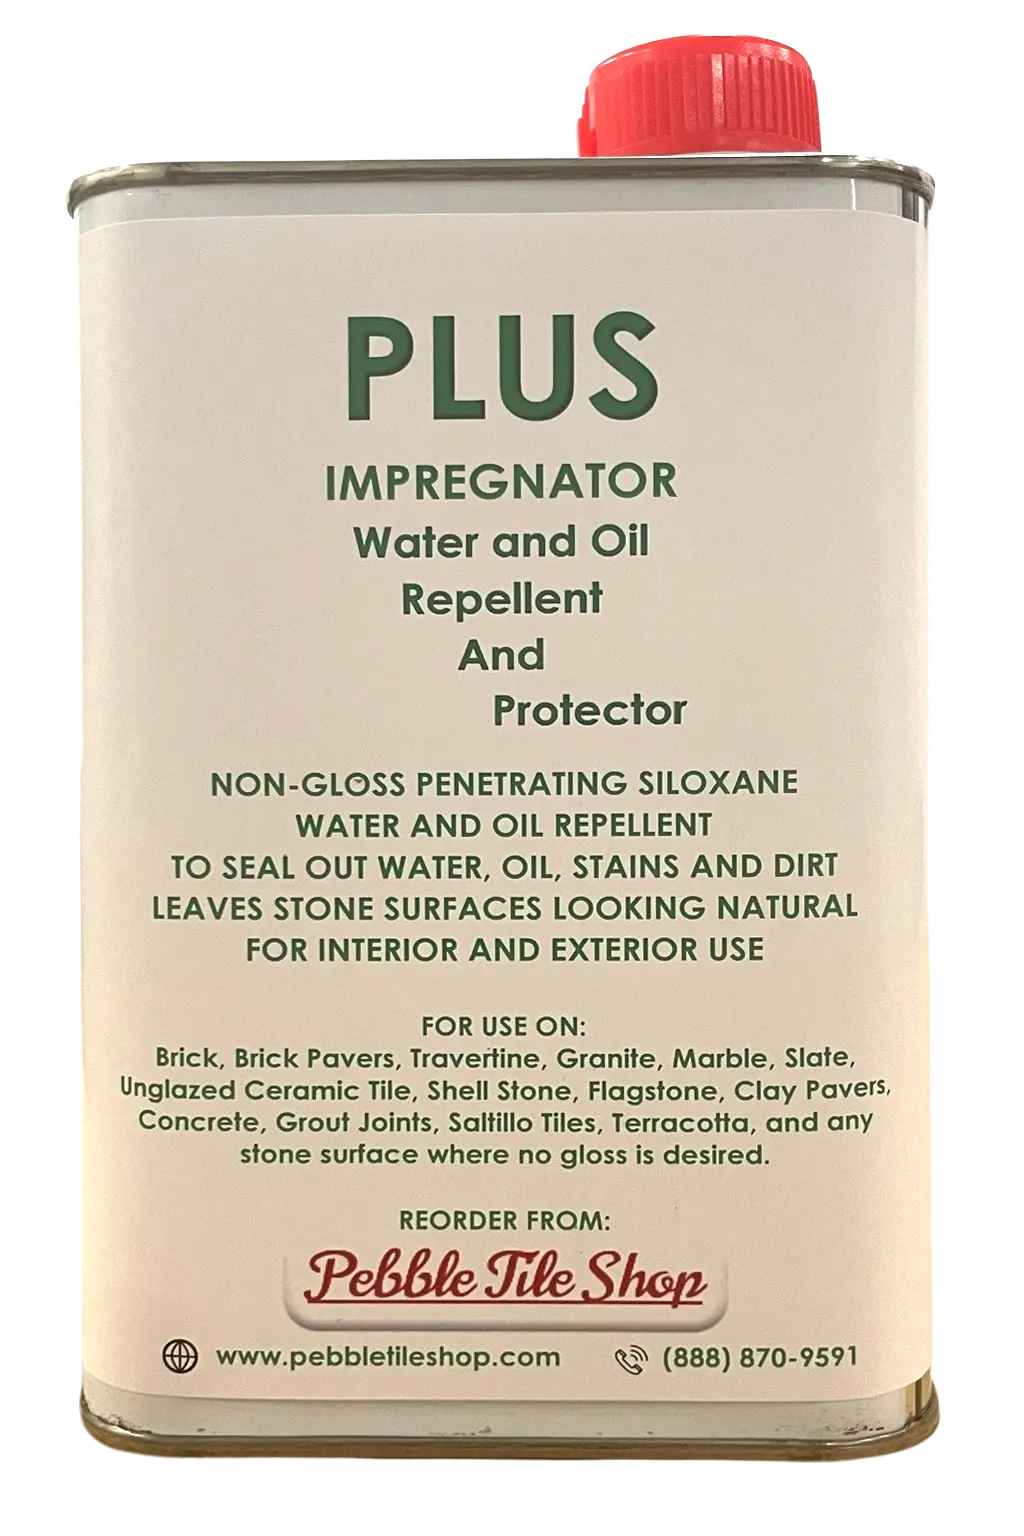
After the grout has dried (usually after 24 hours), apply a grout sealer to protect it from moisture and stains. Follow the manufacturer’s instructions for application and drying times.
- Caulk the Edges
To create a watertight seal, apply caulk along the edges where the backsplash meets the countertop or cabinets. This step helps prevent moisture from seeping behind the tiles.
Expert Tips for a Professional Finish
- Use a Tile Saw for Precision Cuts
For the best results, use a tile saw to make precise cuts. A tile cutter is suitable for straight cuts, but a wet saw is essential for cutting curves or irregular shapes.
- Choose the Right Grout Color
The color of your grout can significantly impact the overall look of your backsplash. For a seamless look, select a grout color that matches the tiles. For contrast, choose a color that stands out.
- Ensure Proper Tile Alignment
Alignment is crucial for a professional appearance. Use a level frequently and make adjustments as needed to ensure your tiles are straight and evenly spaced.
- Take Your Time
Don’t rush the installation process. Take your time with measuring, cutting, and placing tiles to ensure a high-quality finish.
- Consider Professional Installation
If you're unsure about handling the installation yourself, hiring a professional can ensure the job is done right. Professionals can offer valuable advice and handle complex tasks with ease.
Common Mistakes to Avoid
- Skipping Surface Preparation
A well-prepared surface is essential for proper tile adhesion. Ensure the wall is clean, dry, and smooth before applying adhesive.
- Using Incorrect Adhesive
Different types of tile require different adhesives. Ensure you use the adhesive recommended for subway tiles to achieve a strong bond.
- Neglecting Grout Sealing
Failing to seal grout can lead to stains and damage over time. Always apply a grout sealer to protect your backsplash.
- Rushing the Drying Process
Allow the adhesive and grout to dry fully before using the area. Rushing this process can lead to mistakes and damage.
- Overworking the Grout
When applying grout, avoid excessive agitation. Overworking grout can push it into the tile surface and make cleaning more difficult.
Survey and Reports
Recent surveys and reports highlight the popularity and benefits of subway tiles. A survey by HomeAdvisor found that 62% of homeowners who installed subway tile backsplashes were highly satisfied with their remodel. The National Kitchen and Bath Association (NKBA) reports that subway tiles remain one of the top choices for backsplashes due to their versatility and ease of maintenance.
Conclusion
Installing a subway tile backsplash is a rewarding DIY project that can enhance the beauty and functionality of your kitchen or bathroom. By following these simple steps and tips, you can achieve a professional finish and enjoy the timeless appeal of subway tiles.
For a wide selection of high-quality subway tiles and other tile options, visit Tile Hub. As a sister company of Pebble Tile Shop, we offer an extensive collection that ensures you have everything needed to create the perfect look for your home. Explore our website at Tile Hub and start your backsplash project today!
If you have any more questions or need further assistance, feel free to reach out. Happy tiling!


