The Problem
You cut a porcelain tile and now the edge is raw, chipped, or a different color than the face. Here are the four ways to fix it, and how to pick the right one in under a minute.
Every tile project has them: the end of a backsplash, an outside corner, a shower niche, a half-wall cap. These are the spots where a factory edge is gone and a cut edge shows. On glazed porcelain, that cut reveals the clay body underneath, and that rarely looks like the surface of the tile. Porcelain is also hard enough that sloppy cutting leaves chips and a rough, saw-marked finish.
There are four proven ways to finish a cut porcelain edge: polish it, use a bullnose trim piece, cover it with a metal profile, or miter the corner. Each one suits a different tile, budget, and skill level. This guide shows you how to choose, then walks through each method step by step.
Pick Your Fix in 60 Seconds
Polish the edge
Best when the tile is through-body or the edge will be seen only from the side.
Use bullnose trim
Best for a matching, no-cutting finish when your tile line offers trim pieces.
Add a metal profile
Best for modern looks and for protecting outside corners from chips.
Miter the corner
Best for a seamless, edge-free corner. Needs skill, a good saw, and through-body tile.
First, Check Your Tile: Glazed or Through-Body?
This one check decides which fix will actually look good, so do it before you buy anything.
| Tile Type | What the Cut Edge Looks Like | Best Fixes |
|---|---|---|
| Glazed porcelain | Shows the clay body (often white, tan, or red) under a thin colored surface layer | Bullnose, metal profile, or hidden edge. Polishing will not recreate the glaze. |
| Through-body (full-body) porcelain | Color runs through the whole tile, so the edge blends with the face | Polish or miter. Both look convincing. |
| Rectified porcelain | Factory-cut for tight grout lines, but a rectified edge is still a raw edge at an outside corner | Same as the tile body type above |
A quick way to tell: look at a spare tile or an exposed side edge. If the edge color matches the surface, it is through-body. If you see a different color or a visible glaze line, it is glazed.
Method 1: How to Polish a Porcelain Tile Cut Edge
Difficulty: moderate. Time: a few minutes per edge once you have the rhythm. Works best on through-body tile.
Polishing smooths the saw marks and removes the sharp, chip-prone corner so the edge looks clean and feels safe. It does not turn a glazed tile's body into glaze, so manage expectations on colored or printed tiles.
STEP 1
Cut it clean first
Use a wet saw with a continuous-rim diamond blade made for porcelain, and feed the tile slowly. A better cut means far less grinding later. Support the tile fully and let the blade do the work.
STEP 2
Break the sharp arris
Hold the tile steady and run a coarse diamond pad lightly along the top corner of the edge to knock off the razor-sharp lip. This is also where most chips get cleaned up.
STEP 3
Work through the grits, with water
Use wet diamond polishing pads, moving from coarse to fine without skipping steps. A typical hand-pad sequence runs roughly 50, 100, 200, 400, 800, 1500, then 3000 grit, but follow the sequence printed on your pad set. Keep the edge wet the whole time. Skipping a grit is the single most common reason an edge looks cloudy or scratched.
STEP 4
Keep the pad flat and moving
Use even pressure and steady passes. Holding one spot creates a dip or a flat spot you will see in raking light.
STEP 5
Rinse, dry, and inspect in side light
Wipe off the slurry, let the edge dry, and check it at an angle under a work light. Re-do any hazy area from the last good grit before you set the tile.
Do you need to seal the edge? Usually not. Porcelain is dense and low-absorption, so the body and edge generally do not need sealing. Check your tile maker's guidance, especially for polished-surface porcelain, and always seal the grout lines.
Method 2: Use a Bullnose Trim Piece
Difficulty: easy. No edge work required.
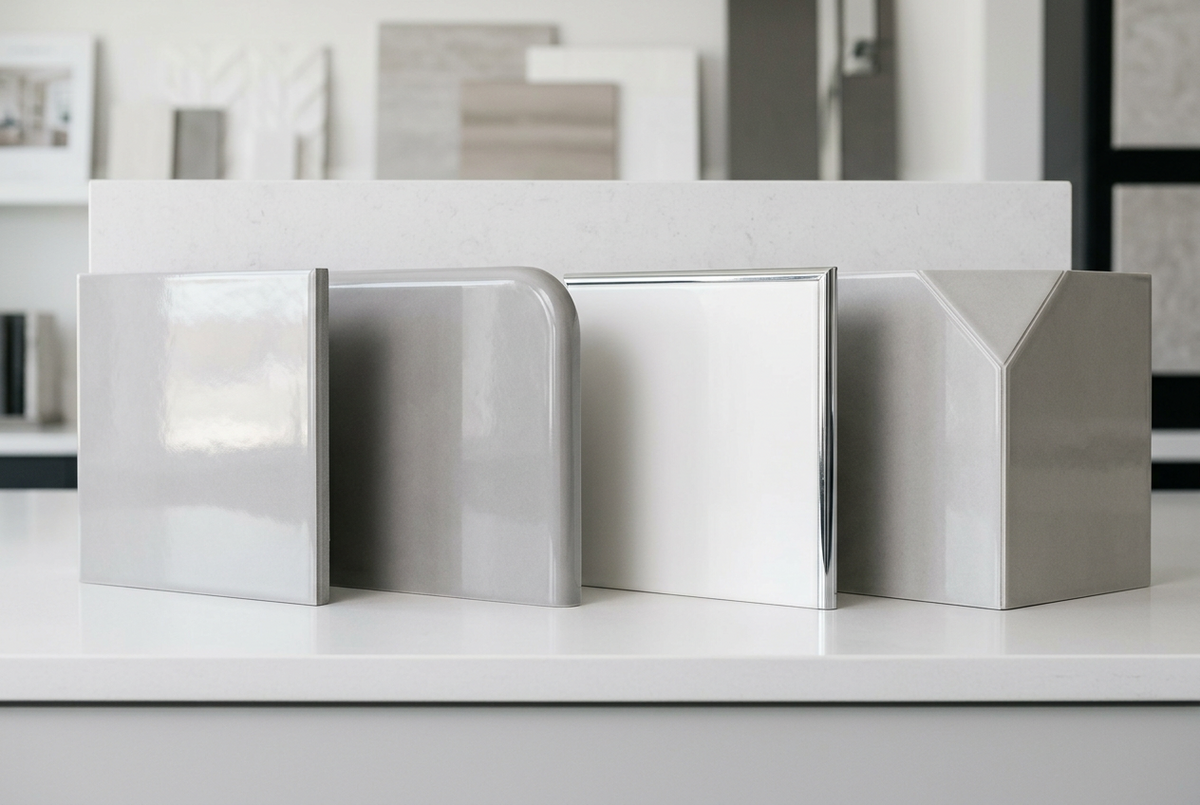
Bullnose is a factory-finished tile with one rounded, glazed edge, built to cap an exposed side. You set it like any other tile, and the finished edge matches the face because it was glazed that way.
- Check whether your tile line offers matching bullnose before you order the field tile, since trim is not available in every collection.
- Order extra and compare lots, because trim can differ slightly in shade from the field tile.
- Use it on backsplash ends, window sills, niches, and half-wall caps where the rounded profile is acceptable.
Method 3: Cover the Edge With a Metal Profile
Difficulty: easy to moderate. Great for protection and a modern look.
Edge profiles, such as Schluter-style aluminum, stainless, brass, or matte black trims, are set in the thinset under the tile at the edge and finish the corner with a clean line. They also protect the tile from chipping at high-contact outside corners.
- Choose a profile height that matches your tile thickness so the face sits flush.
- Set the profile first, then butt the tile against it with a consistent gap.
- Match the metal finish to your fixtures for a deliberate, designed look.
Method 4: Miter the Corner
Difficulty: advanced. Needs a saw that can cut a clean 45 degree bevel.
Mitering cuts two tiles at 45 degrees so they meet in a crisp, edge-free outside corner. It gives the most seamless look, but it is unforgiving, and it only looks truly seamless on through-body porcelain.
- Cut matching 45 degree bevels on both tiles with a wet saw or a bridge saw, leaving a very thin lip of the face edge intact.
- Dry fit before any adhesive goes on. Adjust until the joint closes cleanly.
- Lightly polish the bevel with fine pads to soften the sharp point and remove chips.
- Set the tiles with a tiny gap and finish the joint with a color-matched sealant or grout per the manufacturer's directions.
Glazed tile mitered at a corner shows a thin body-colored line where the bevels meet. If you want the clean look without that line, choose through-body tile or a different method.
All Four Methods, Side by Side
| Method | Skill | Looks Best On | Main Risk |
|---|---|---|---|
| Polish | Moderate | Through-body tile | Visible body color on glazed tile |
| Bullnose | Easy | Lines with matching trim | Trim not offered or slightly off-shade |
| Metal profile | Easy to moderate | Modern and high-contact corners | Wrong height or visible gap |
| Miter | Advanced | Through-body tile | Chipped bevel, visible joint line |
Tools Checklist
For cutting
Wet saw with a continuous-rim diamond blade made for porcelain. For straight cuts on thin tile, a quality manual cutter can work, but a saw gives the cleanest edge.
For polishing
A variable-speed polisher or grinder with a water feed and a graded set of diamond pads, or a set of hand pads for small jobs.
For the finish
Edge profiles or bullnose pieces, a work light for checking at an angle, and a good grout sealer for the joints.
Safety: Do Not Skip This
Cutting and grinding porcelain creates fine dust that can contain crystalline silica, which is harmful to breathe over time.
- Cut and polish wet whenever possible to keep dust down.
- Wear eye protection, gloves, and a respirator rated for silica dust. Check current OSHA and NIOSH guidance for the right rating for your job.
- Work outdoors or with strong ventilation, and clean up with a wet wipe or a HEPA vacuum, not by sweeping.
Troubleshooting Common Edge Problems
| Problem | Likely Cause | Fix |
|---|---|---|
| Chipped glaze along the cut | Dull or wrong blade, feeding too fast | Use a fresh continuous-rim porcelain blade and slow the feed |
| Cloudy or scratched polished edge | Skipped a grit or too little water | Go back to the last good grit and repeat in order |
| Burn marks or dark spots | Dry grinding or pressing too hard | Keep the edge wet and use lighter, moving passes |
| Visible body color on the edge | Glazed tile | Switch to bullnose or a metal profile instead of polishing |
| Uneven or wavy polished edge | Pad held in one place or tilted | Keep the pad flat and moving with even pressure |
Finishing Tiles That Need an Edge
If you would rather trim an edge than grind one, narrow liner pieces are a simple way to cap or frame tile at a backsplash end, niche, or border. Tile Hub carries pencil liners that work as a finishing accent.


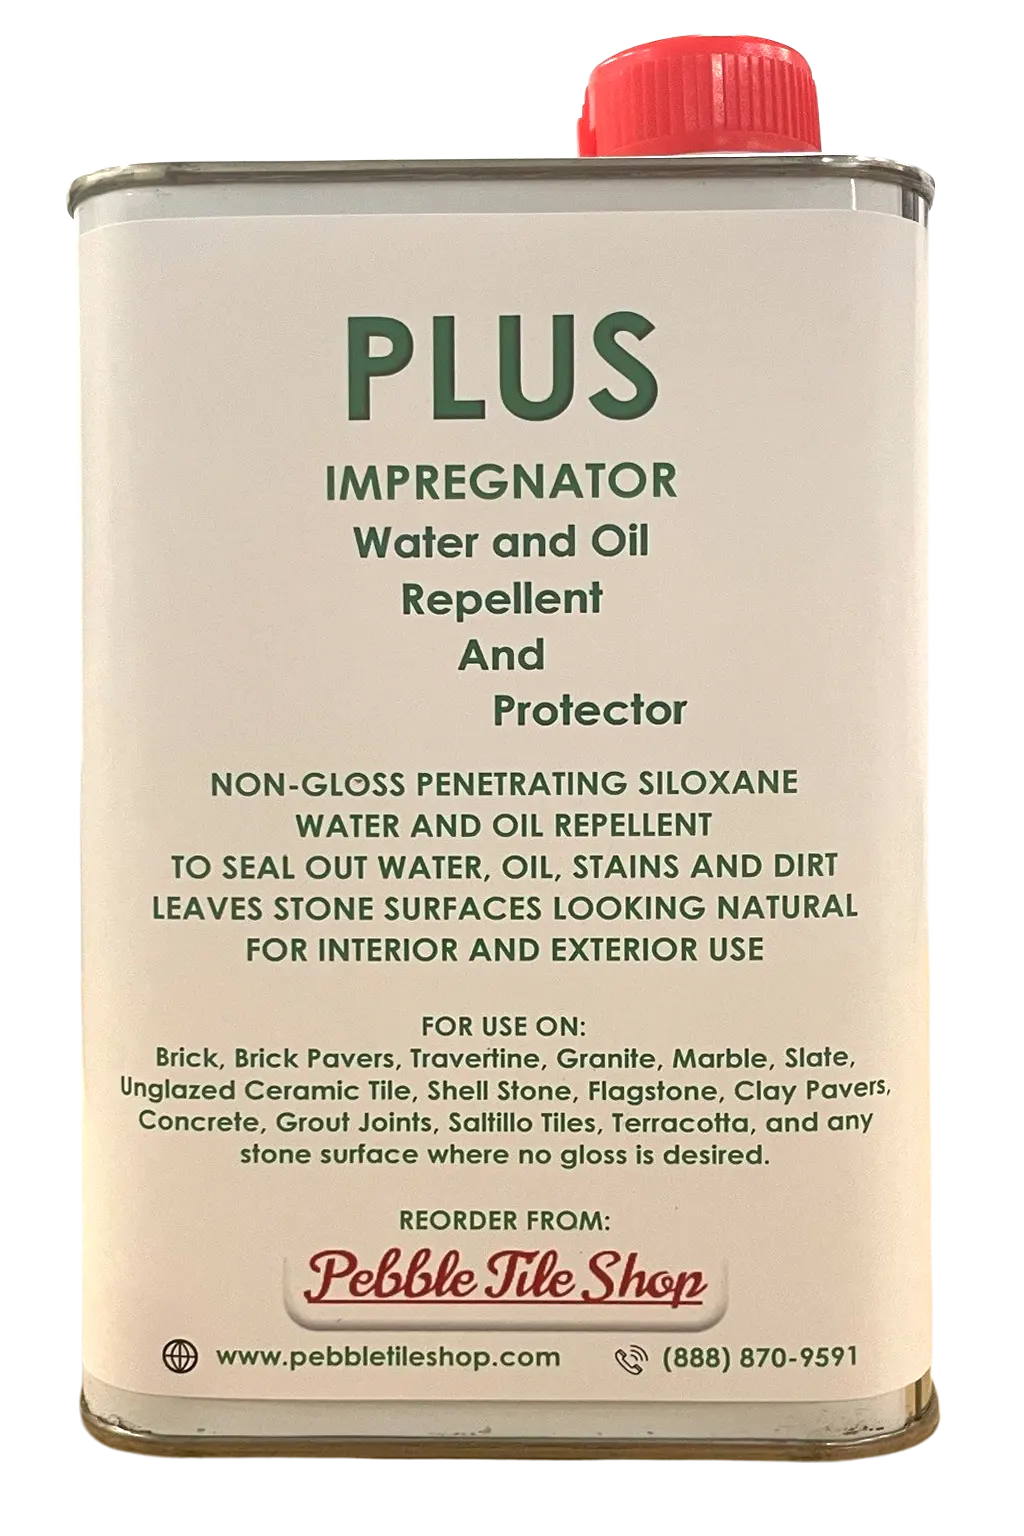
Whatever you choose, seal the grout lines once the joints cure. Super Special Sealant is made for tile and grout protection.
Frequently Asked Questions
How do you finish the cut edge of porcelain tile?
There are four common ways: polish the edge with graded diamond pads, use a factory bullnose trim piece, cover the edge with a metal profile, or miter the corner at 45 degrees. The best choice depends mostly on whether your tile is glazed or through-body.
Can you polish the cut edge of glazed porcelain tile?
You can smooth it, but you cannot recreate the glaze. The edge will show the clay body underneath. For a matching finish on glazed tile, bullnose or a metal profile usually looks better than polishing.
What grit do you use to polish porcelain tile edges?
Most hand-pad sets run from coarse to fine in steps such as 50, 100, 200, 400, 800, 1500, and 3000 grit. Work through them in order with water and follow the sequence on your pad set, because skipping grits causes a cloudy finish.
Do you need to seal porcelain tile edges?
Usually no. Porcelain is dense and low in water absorption, so the tile body and edges generally do not need sealing. Check the manufacturer's guidance, and always seal the grout.
What is the easiest way to cover a raw tile edge?
A matching bullnose piece or a metal edge profile. Both skip the grinding and polishing, and both give consistent, repeatable results for DIYers.
Is cutting porcelain tile dangerous?
Cutting and grinding porcelain makes fine dust that can contain crystalline silica. Cut wet, ventilate well, and wear eye protection and a respirator rated for silica dust.
A clean tile edge is the difference between an installation that looks professional and one that looks like a weekend project. Check your tile type first, pick the method that fits it, and take your time with the finish. If you want help choosing tile and trim that work well together before you start cutting, we are here to help.