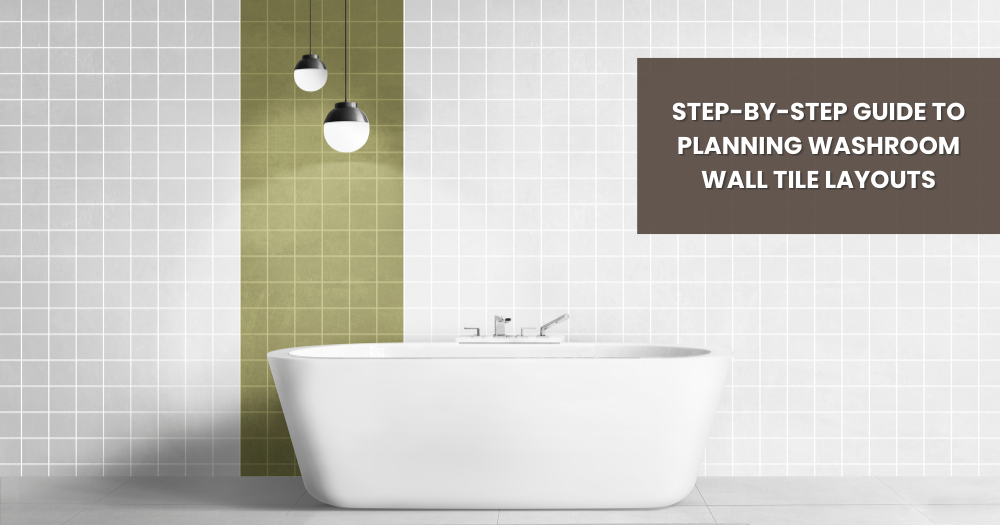
Beautiful tiles can instantly elevate a washroom—but even the most stunning design can fall flat without a thoughtful layout. Planning is the step that determines whether your finished walls look balanced, modern, and intentional… or slightly off.
This Step-by-Step Guide to Planning Washroom Wall Tile Layouts walks you through the entire process before a single tile is installed. Whether you’re renovating a compact powder room or refreshing a full bathroom, careful planning helps you avoid awkward cuts, uneven spacing, and visual imbalance. With the right preparation—and quality tile options from Tile Hub—you can create washroom wall tiles that look professionally designed and confidently executed.
Why Planning Your Washroom Wall Tile Layout Matters
Tile layout is more than just lining pieces up on a wall. It shapes how your washroom feels.
- Visual balance: Centered layouts feel calm and polished. Off-centered layouts can look unintentional.
- Flow and symmetry: Aligning tiles with mirrors, vanities, and lighting fixtures creates harmony.
- Perception of space: The right layout can make ceilings appear taller and rooms appear wider.
- Cost efficiency: Planning reduces waste, minimizes awkward cuts, and avoids rework.
Spending time on layout planning often saves time, money, and frustration during installation.
Step 1: Measure Your Washroom Walls Accurately
Every successful layout begins with precise measurements. Even a small error can throw off your final result.
Tools You’ll Need
- Tape measure
- Level or laser level
- Notebook or digital notes
- Pencil and graph paper
How to Calculate Square Footage
Measure the height and width of each wall separately. Multiply height by width to get square footage. Subtract areas for windows or large mirrors that won’t be tiled.
When to Add Extra Material
Order at least 10–15% extra tile to account for cuts and waste. For complex patterns like herringbone, consider slightly more. Having extra ensures consistency in color and finish if you need replacements later.
Step 2: Define the Focal Point of the Washroom
Before deciding where to start laying tile, decide what you want people to notice first.
Common focal points include:
- The wall behind the vanity
- The main shower wall
- The tub backdrop
Instead of starting in a corner, center your layout around that focal point. For example, if tiling behind a mirror, align the center grout line with the center of the mirror. This creates balance and avoids awkward narrow cuts on one side.
Step 3: Choose the Right Tile Size for Your Space
Tile size directly impacts layout planning.
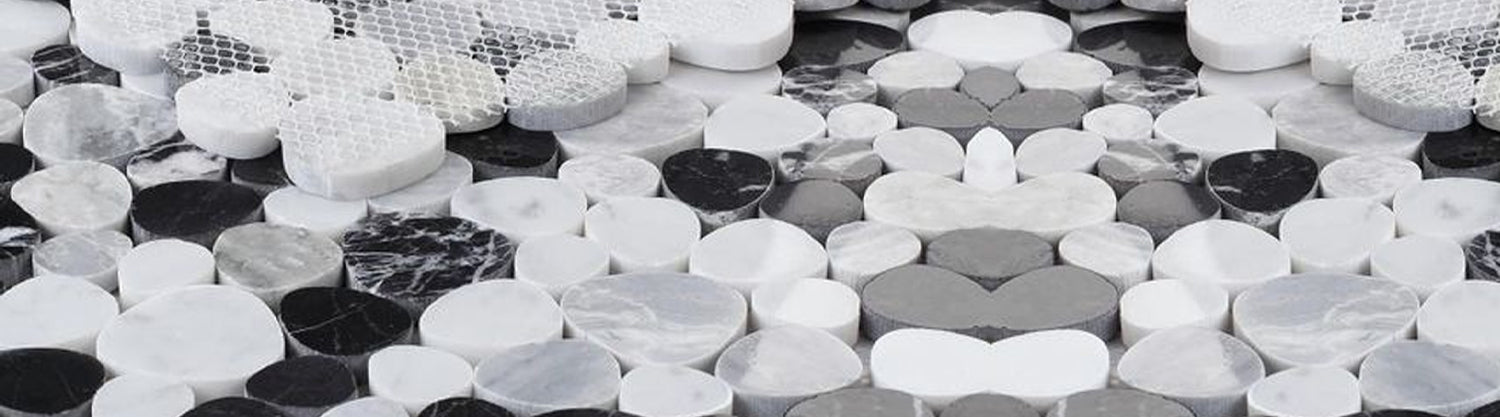
- Large-format tiles: Fewer grout lines, cleaner look, ideal for modern washrooms.
- Small-format tiles: Great for detail, niches, and accent areas.
- Rectangular tiles: Flexible for horizontal or vertical layouts.
In small washrooms, larger tiles can make walls feel less busy. In larger spaces, mixing sizes can add depth. However, oversized tiles in very tight areas may require complex cuts—so measure carefully before committing.
Step 4: Select a Layout Pattern That Matches Your Design Style
The pattern you choose transforms simple tiles into something distinctive.
- Horizontal subway: Classic and timeless.
- Vertical stack: Clean and contemporary; visually raises ceiling height.
- Herringbone: Dynamic and eye-catching; ideal for feature walls.
- Basketweave: Traditional and charming.
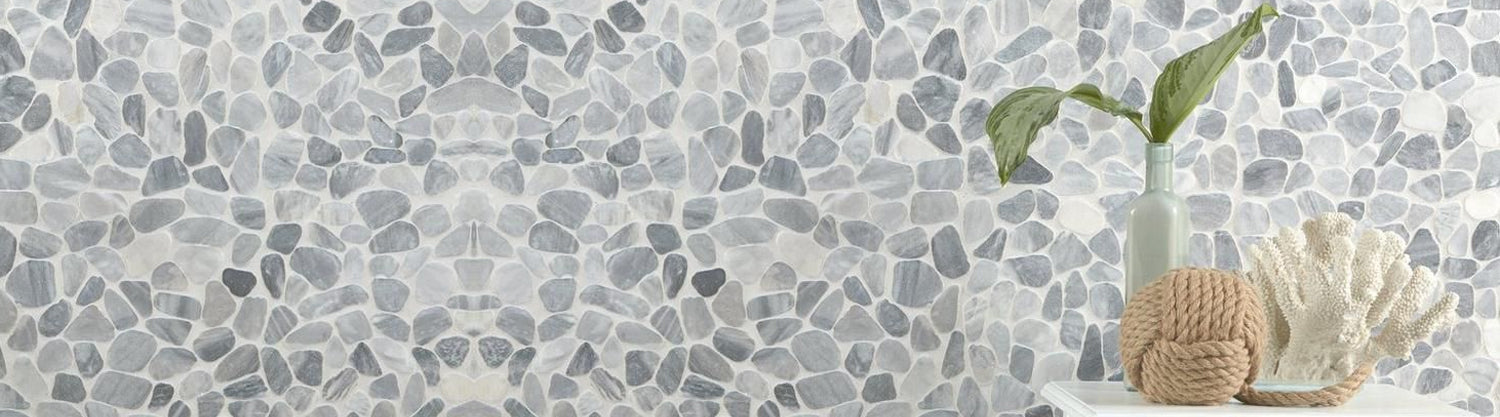
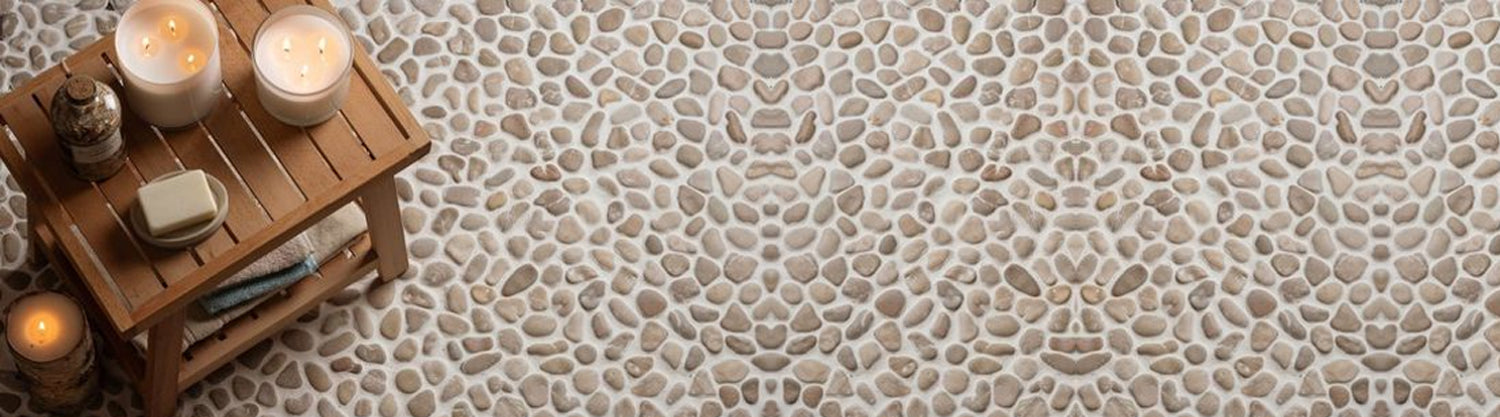
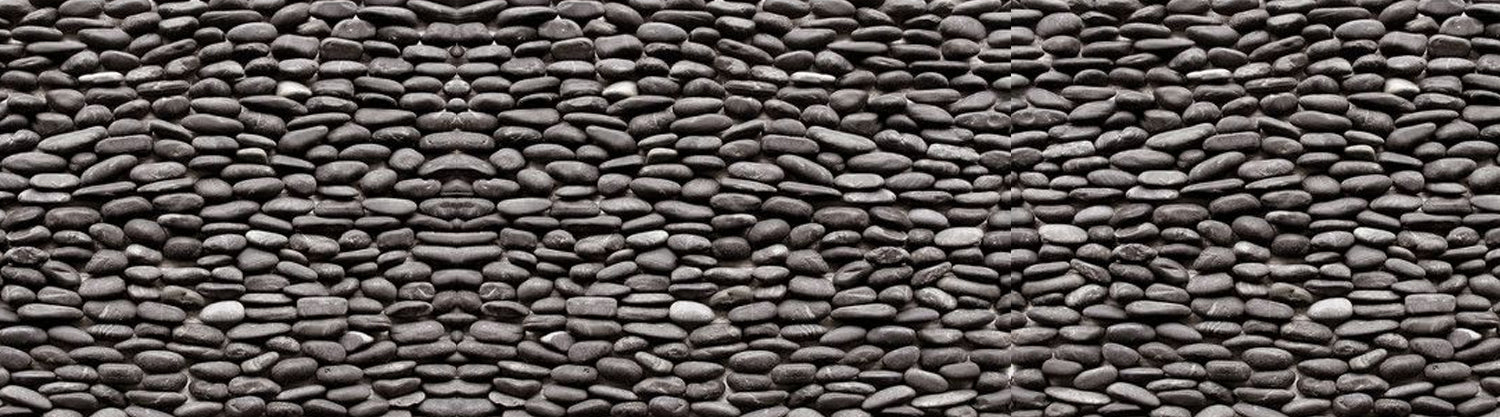
- Mosaic sheets: Perfect for niches or accent strips.
Some layouts, like stacked or straight-set, are easier to plan and install. Patterns such as herringbone require more cutting and precise alignment. Always dry-lay a few tiles to visualize spacing before finalizing.
Step 5: Plan Tile Alignment and Starting Points
This step determines whether your finished walls look professional.
Instead of beginning at one corner, find the center of the wall. Mark a vertical and horizontal reference line. Dry-lay tiles along those lines to see how they fall at the edges.
- Avoid narrow “sliver” cuts at corners.
- Adjust starting points to balance cuts on both sides.
- Use chalk lines or laser guides for accuracy.
Balanced edge cuts create a polished appearance that feels intentional.
Step 6: Decide How High the Tiles Should Go
Height decisions influence the entire visual effect of your washroom wall tiles.
- Full-height shower walls: Extending tile to the ceiling protects against moisture and looks seamless.
- Half-wall installations: A practical option for backsplashes or traditional designs.
- Accent zones: Tiling only behind the vanity or tub creates contrast.
Extending tile upward can make ceilings appear taller, especially when paired with vertical layouts.
Step 7: Coordinate Grout Color and Trim Details
Grout may seem minor, but it changes everything.
- Matching grout: Creates a smooth, blended appearance.
- Contrasting grout: Highlights pattern and shape.
- Trim pieces: Provide clean edges and professional finishing.
Plan grout width in advance—spacing affects your overall measurements and alignment. Always factor grout lines into your layout calculations.
Step 8: Account for Fixtures, Plumbing & Obstacles
Washroom walls aren’t blank canvases. They include shower valves, faucets, outlets, and lighting.
- Align tile joints thoughtfully around fixtures.
- Plan niche placement before cutting tile.
- Ensure cuts around plumbing look symmetrical.
Taking obstacles into account early prevents last-minute adjustments that disrupt your layout.
Common Washroom Wall Tile Layout Mistakes to Avoid
- Starting from a corner without centering the design.
- Ignoring grout spacing during measurements.
- Failing to order samples first.
- Rushing into installation without marking guidelines.
- Overcomplicating patterns in small spaces.
Thoughtful planning avoids these common pitfalls and results in cleaner, more balanced walls.
When to DIY vs. When to Consult a Professional
Straight-set or stacked layouts are often manageable for confident DIYers. More intricate patterns—especially those involving large-format tiles or complex angles—may benefit from professional expertise.
If you’re unsure about alignment or symmetry, consulting an installer before purchasing large quantities can prevent costly mistakes.
FAQs About Planning Washroom Wall Tile Layouts
What is the best starting point for tiling a washroom wall?
Starting from the center of the focal wall usually produces the most balanced result. This prevents uneven cuts at the edges.
How do I avoid small tile cuts at the edges?
Dry-lay tiles before installation and adjust your starting line slightly to create even cuts on both sides of the wall.
Should washroom wall tiles be centered?
Yes, especially around mirrors or vanities. Centered layouts feel visually balanced and intentional.
What tile layout makes a small bathroom look bigger?
Vertical stacked or large-format tiles with minimal grout lines can help small spaces feel taller and more open.
How much extra tile should I order?
Plan for at least 10–15% extra to cover waste, cuts, and future repairs.
Final Thoughts: Planning Your Washroom Wall Tile Layout with Confidence
Planning is the foundation of great design. When you measure carefully, choose the right tile size, select a thoughtful pattern, and align everything with intention, your washroom wall tiles come together seamlessly.
Taking the time to follow this Step-by-Step Guide to Planning Washroom Wall Tile Layouts gives you clarity before installation begins. Whether you’re updating a small powder room or designing a full renovation, preparation makes all the difference.
If you’re ready to start planning, explore the wide range of wall tile styles and finishes at Tile Hub. Order samples, compare layouts, and visualize your design with confidence. With the right layout plan and quality materials, your washroom can look balanced, modern, and beautifully finished.